Be the envy of your friends with a garden bar!
The summer is almost upon us, and you might already be finding yourself spending more time in your garden and sprucing up your outdoor space ready for those glorious warm and sunny days.
If you’re one for entertaining, and regularly having your friends and family over to socialise, then you might be considering how you can make your space more inviting. Perhaps you’re investing in some new garden furniture, creating different zones within your garden, or installing a living wall to give your outdoor space a focal point!
How about creating your very own garden bar? Your family is sure to LOVE this! And guess what? It’s way more affordable and simple than you might think! If you have a shed that’s feeling unloved, and housing random tools you know you’ll never use, then it’s time to have a clearout and give your building a new lease of life…
What you’ll need
- Drill Saw
- Screws Hinge (x4)
- Chain (x2)
- Staple on plate (x4)
- Dee shackle (x4)
- Plywood
- Onduline roofing sheets
- Exterior paint
How to build your garden bar
It's easier than you may think...
With your structure already in place, this DIY project is pretty straightforward and only requires a little bit of elbow grease. Our quick guide below will give you a good idea as to what’s involved in building your own bar, let’s dive in…
Garden bar with a hatch
If you want to create a hatch that can open and close leaving no open gaps in your garden bar when not in use - follow these steps!
Step 1 The first step is to attach your plywood to your internal shed panel - this is what will become your hatch opening.
Step 2 Then, saw your rectangle hatch opening - a hand saw will be adequate for this. You will then be left with a rectangle shaped piece of your shed wall with your attached plywood - a nice flat surface to rest your pints.

Step 3 The next step is to attach your hinges along the bottom edge of the hatch, this is to enable it to open and close with ease. You’ll need to attach your staple on plates in the top two corners of your hatch and attach your dee shackles to the staple on plates, this will then allow you to attach a chain to each dee shackle. The other end of the chain will need to attach to an internal dee shackle or hook. And there you have it, a simple opening and closing hatch!
Don’t require a hatch?
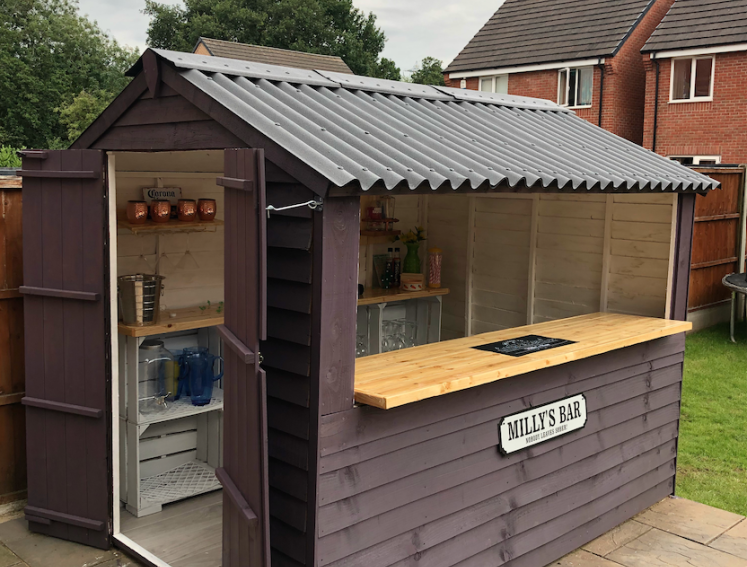
Opt for a design like Matt Mitchell
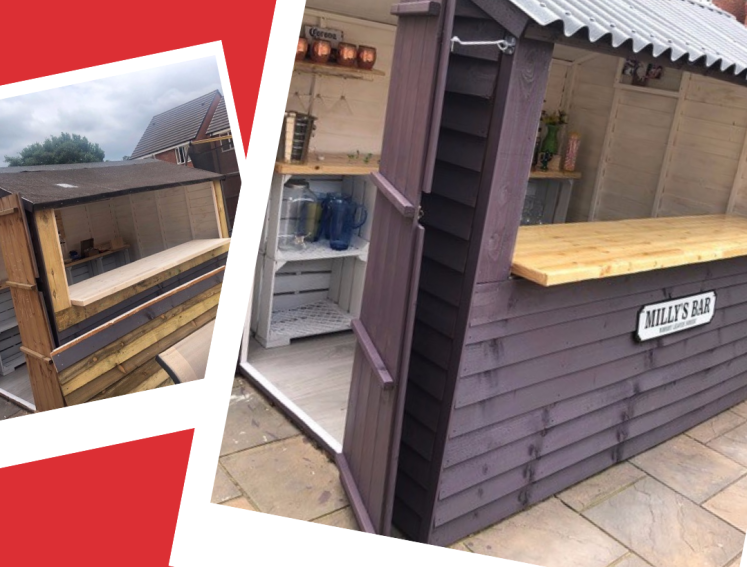
If you don’t require a hatch and want to keep it as simple as possible, take a leaf out of Matt Mitchell’s book. Here’s what his shed looked like before and after it had a glow-up…
You will still need to saw a rectangle in your shed panel but you won’t need to play around with hinges or dee shackles as this garden bar doesn’t have an open/close hatch. Instead, Matt has used a beautiful piece of wood to create a permanent bar top rather than using the shed panel with plywood.
Once you’ve sorted out the logistics of your bar and whether you want a hatch or a solid wood worktop, you will need to consider the rest of your project including the roof, flooring, storing of drinks, and other personal touches.
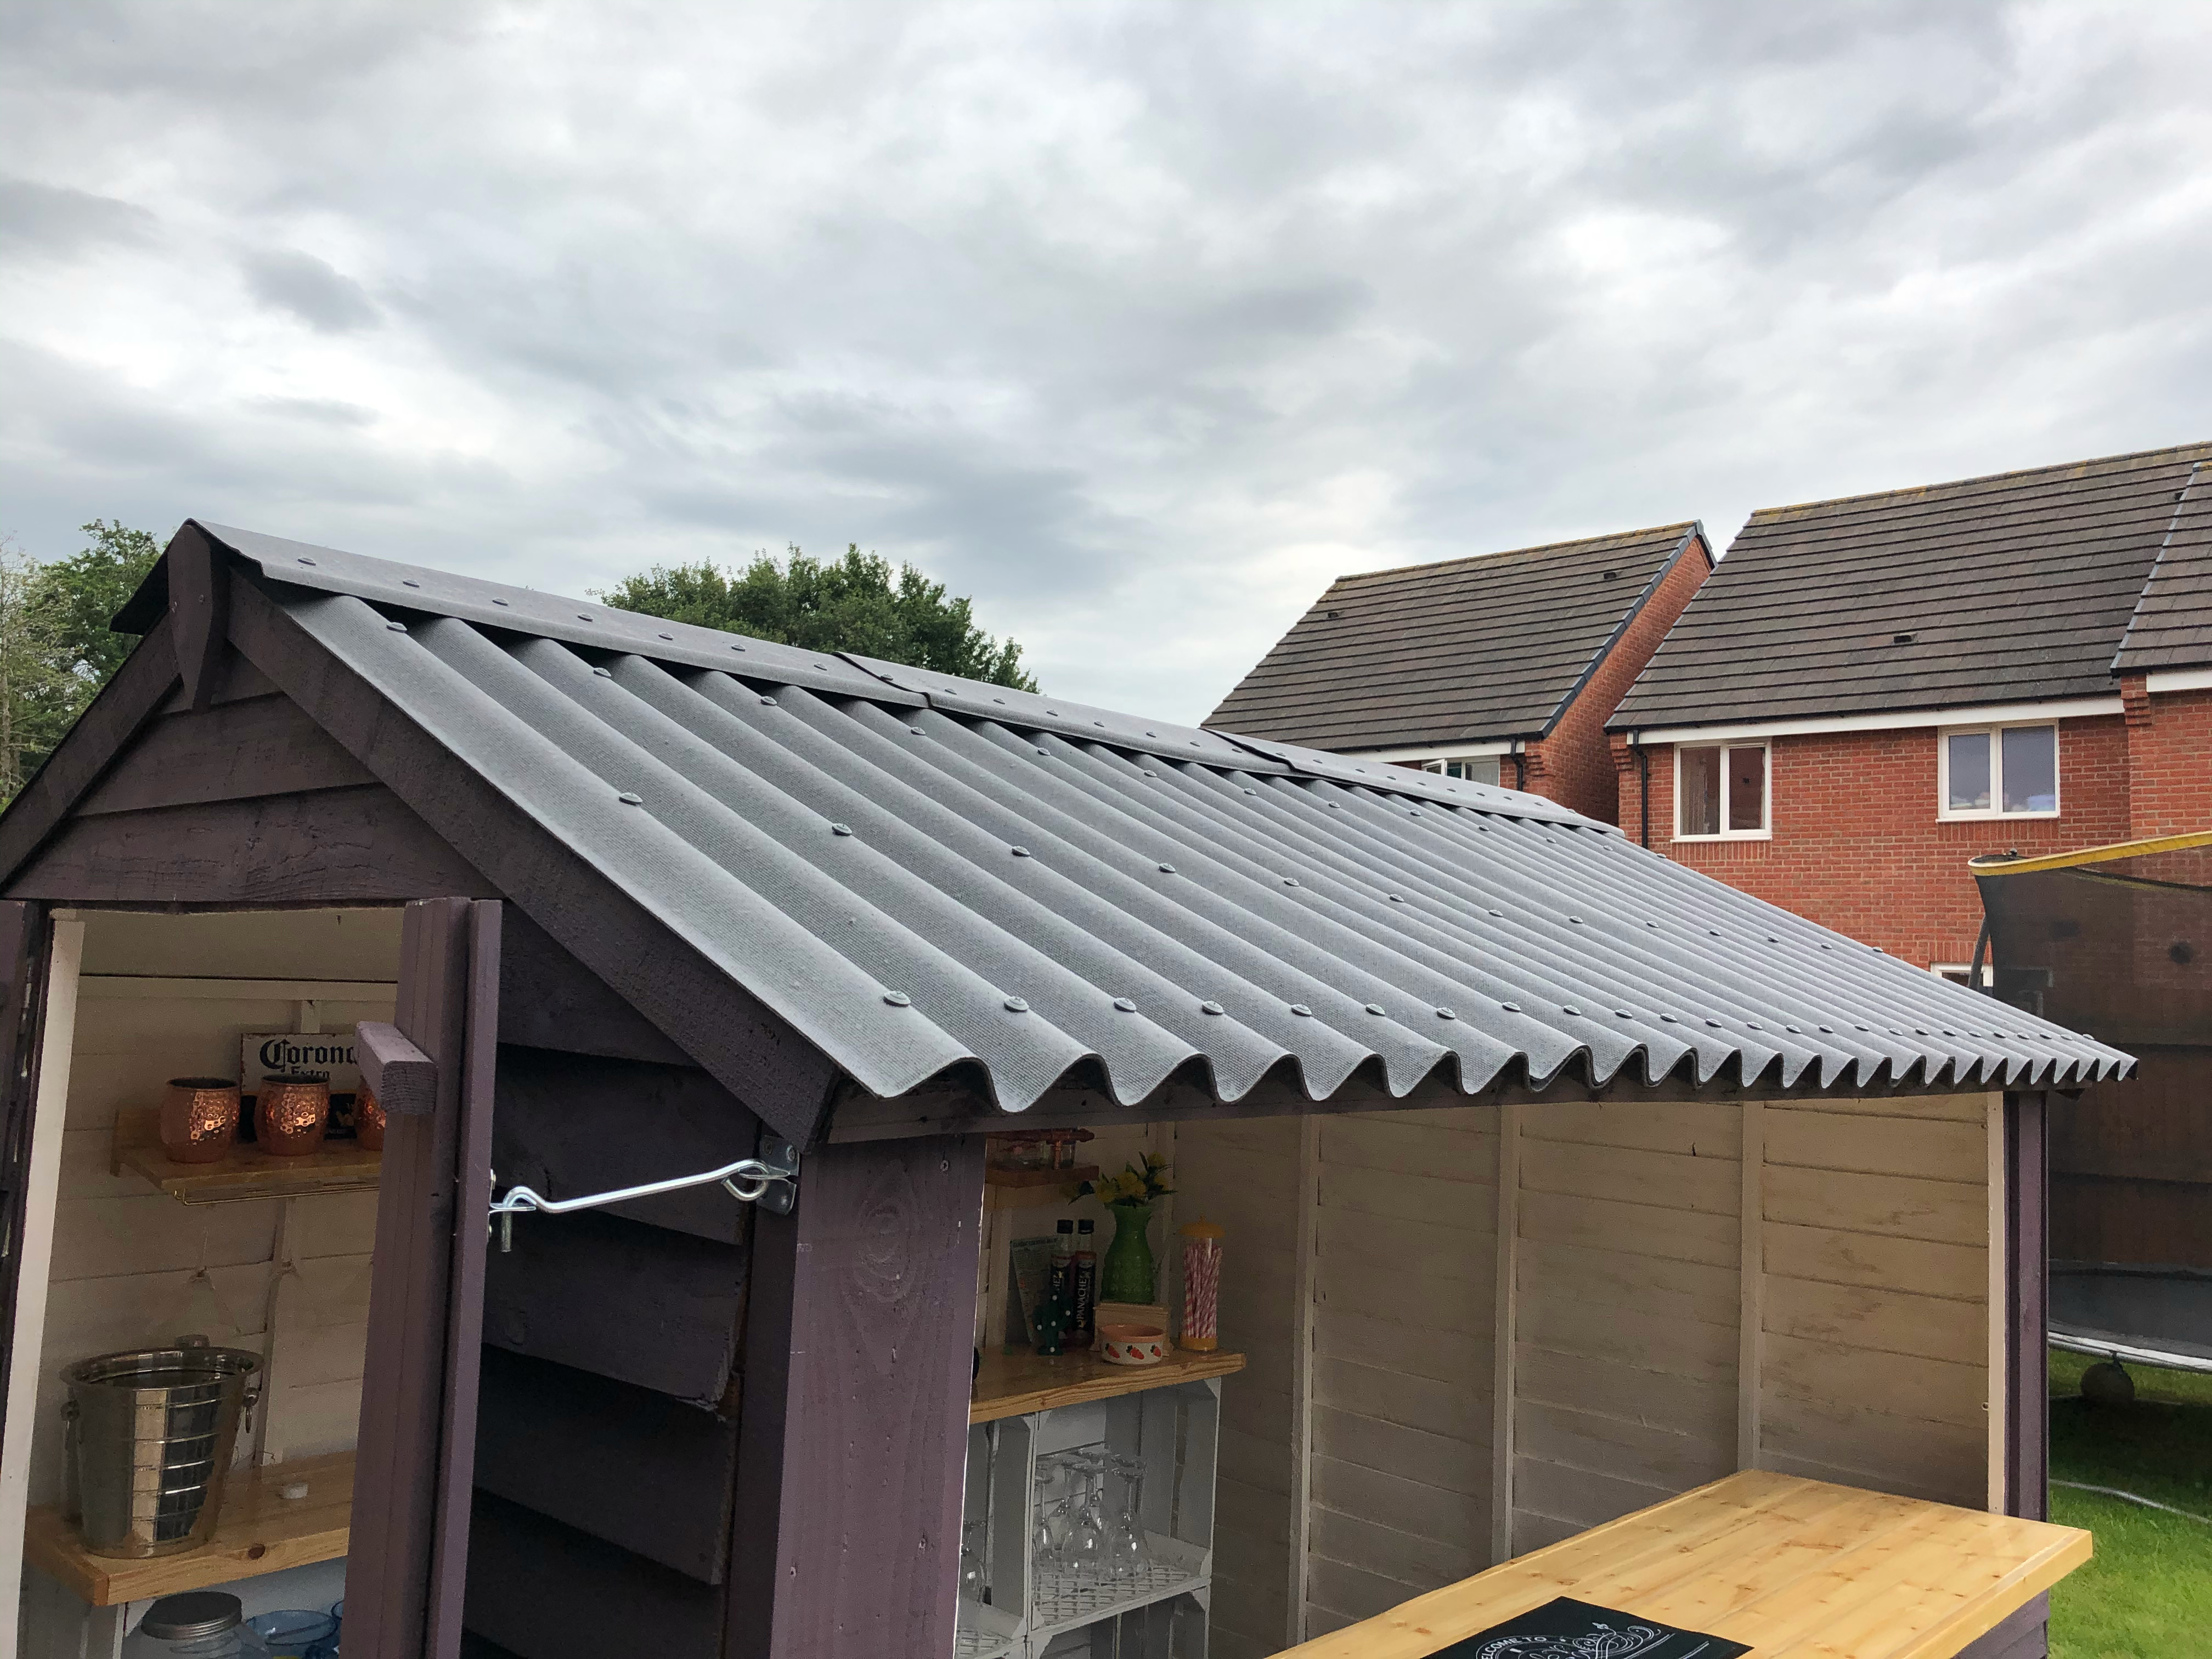
Garden Bar Roofing System
Matt opted for our Onduline CLASSIC roofing system which works really well for his bar as it allows rainwater to run down and off of the structure.
Our Onduline CLASSIC roofing is ideal for all outdoor structures, including bars, thanks to its various different benefits:
- It’s easy to install
- It’s super lightweight and easy to transport
- It has a 15-year guarantee It’s totally watertight
- It’s eco-friendly and made with recycled materials
Our CLASSIC roofing is easy to work with (even if you’re a DIY novice!) and quick to install. Here’s a quick step-by-step to give you an idea of just how easy, but you can also check out our installation guides and videos for a more detailed breakdown.
How to install Onduline roofing
Once you have prepared your shed roof by fitting wooden battens to it (ensure they are an equal distance apart), all you need to do is follow these simple steps:
- Lay the sheets over the gutter line with an overhang and lay them in the opposite direction to the wind
- Lay your second row so the first sheet is parallel to the corrugations but not in line with the first
- Fix the sheets at the eaves, overlaps, and ridges with the correct fixings
- Fix a verge to the edge for ultimate aesthetic, waterproofing and wind resistance, fixing to the sidewall first and then the roofing sheets with an overlap.
And there you have it! The perfect waterproof roofing system for your new bar…
Those finishing touches
Of course, it doesn’t stop there! To put the finishing touches on your garden bar you’re going to need to pick up the paintbrush and give it a fresh lick of paint. Perhaps you’ll go for a purple like Matt, or maybe a light blue for a beach bar feel? Don’t forget to also give the interior a coat too, we love how Matt has made his bar light and airy with a coat of white.
Get creative with your internal space, upcycle pallets, and use rescue scraps of wood that can be turned into shelves and wall features to house your spirits. Flooring doesn’t need to cost you either, leftover lino or carpet will do the job. And don’t forget about making it your own, we love Matt’s “Milly’s bar” sign!
Check out Matt’s bar shed case study here
Ready to get started on your own garden bar project? Don’t forget our lightweight and easy-to-install roofing can be purchased via our eShop. Select ranges are also available via The Range, Amazon, and Wickes. Check out our full list of stockists. Also, if you have any questions about our roofing, our team will be happy to help and you can contact us by calling 0207 727 0533 or emailing [email protected].