Don't start your slanted shed roof upgrade before reading our top tips on how to and what roofing style to choose below...
Sheds are the perfect accompaniment to any garden whether you use them solely for storage, to hide those bulky (unwanted, really!) household items, bikes or tools, or for something a little more fun like a home cinema or even a micropub! Maybe your shed has become your new relaxation room, home office or hobby den. Whatever you use your garden shed for, you’ll want to make sure your shed roof stands the test of time so those bits and pieces, equipment or maybe even works of art don’t get ruined in the unpredictable UK weather!
But where to start? Our step by step guide will help you to build or upgrade your shed roof...let’s start.
Choose your shed roof style!
By choosing Onduline roofing, we have a wide range of shed roofing available, we even have clear ranges suitable for greenhouses, and whether you purchase via us or another shed roofing company, the style you choose may have an impact on the installation.
CLASSIC shed roofing
Corrugated sheets
For a classic design, corrugated shed roofing is likely to be the best choice and our (surprise, surprise) ONDULINE CLASSIC sheets are the original bitumen corrugated roofing sheet but, unlike some others, ours are made from 50 - 60% recycled materials offering your style and substance.
How do you install corrugated roofing?
We can’t necessarily speak for other providers but our corrugated roofing is super easy to install, - you can even install it over the top of existing felt! - just follow these steps…
- Lay the sheets over the gutter line with an overhang and lay them in the opposite direction to the wind
- Lay your second row so the first sheet is parallel to the corrugations but not in line with the first
- Fix the sheets at the eaves, overlaps and ridges with the correct fixings
- Fix a verge to the edge for ultimate aesthetic, waterproofing and wind resistance. Fix to the sidewall first and then the roofing sheets with an overlap
And you’re done! You can find out more by reading our full ONDULINE CLASSIC installation guide which also tells you about the batten rules, if you’re not fixing your new roof to a roof deck, and how to calculate the pitch of your roof. We also have a handy ’How to’ video.
CLASSIC Inspiration
We love seeing your installations and these are just two of our favourite CLASSIC looks.
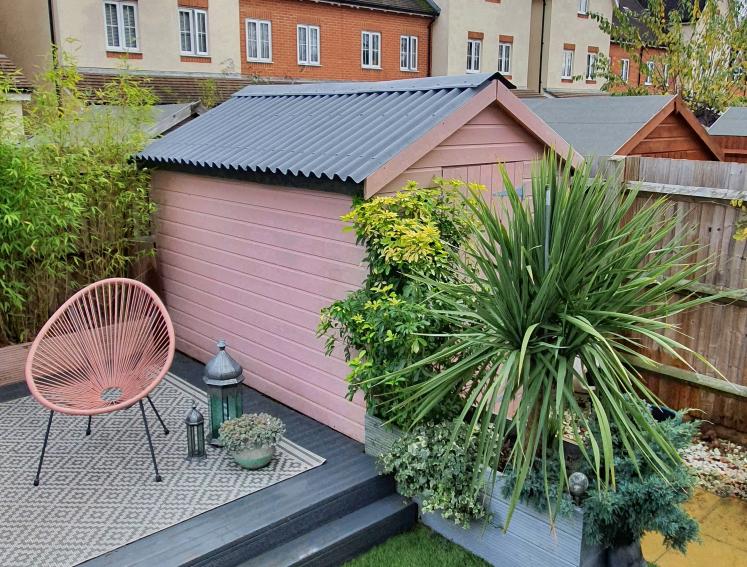
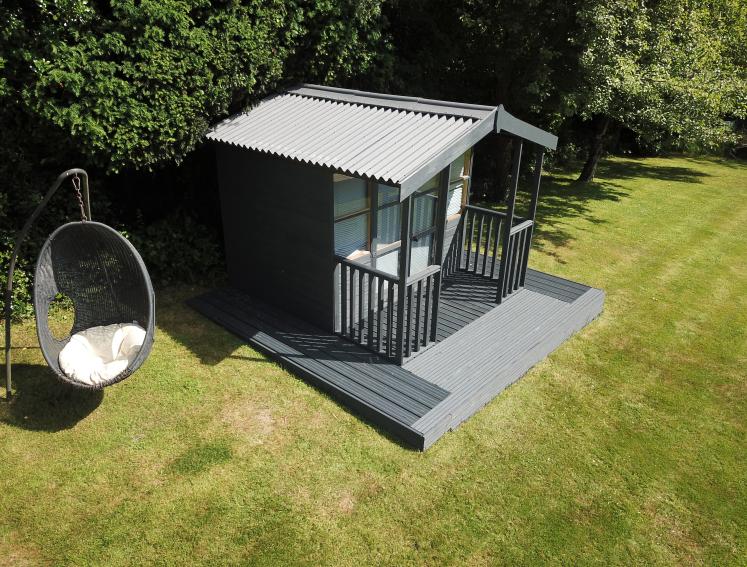
Pretty in pink - Grey CLASSIC roofing
This style of shed is sure to stand out in any garden. We love how Gemma, of the Instagram account Caffeine & Cacti, has complimented her grey decking with a matching grey shed roof using our CLASSIC sheets. Any other colour and we think the overall look wouldn't have been so stylish. Would grey roofing suit your shed’s design?
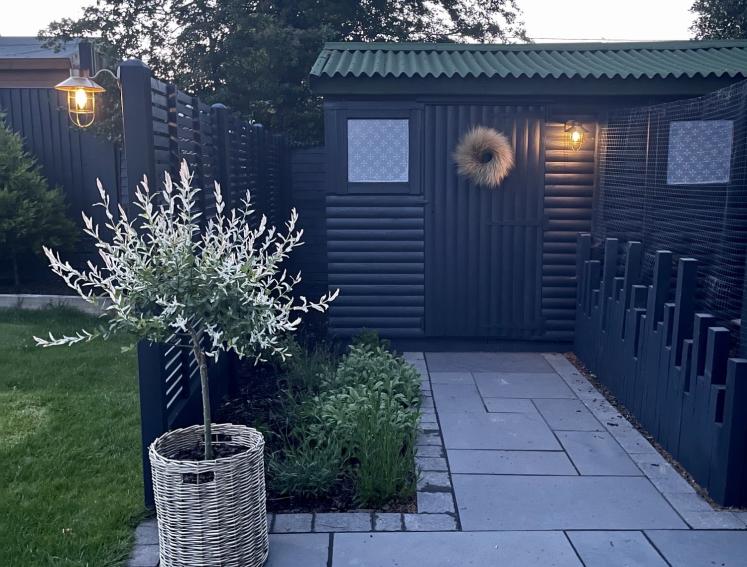
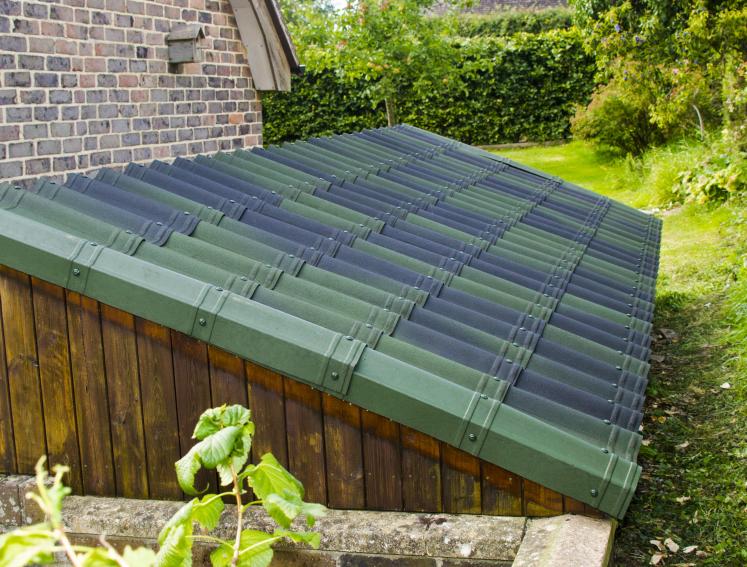
Switch it up - Green CLASSIC roofing
If you’d prefer to make a statement with your roofing rather than the colour of your shed walls, then this design from Ella, of the Instagram account The Russells Home, is definitely up your street! We love how the green CLASSIC sheets add a touch of colour without being too overbearing. And how gorgeous does it look with the evening’s mood lighting?
Tiled roofing
The continental look
Traditional tiled roofing can be difficult to install and costly too! It may not even be suitable for your shed roof. So, how do you achieve a quirky tile look without the risk? Our ONDUVILLA roofing tiles, of course. Again these are corrugated roofing tiles but they are made to replicate the clay tile look without the hassle.
How do you install tiled roofing?
- Apply the ONDUVILLA foam fillers at the eave of your shed roof
- Lay the sheets in the opposite direction to the wind, starting at the eave with a small overhang and fix the corrugations as you go!
- Lay your second row with a stagger so it is again parallel to the corrugations but not in line with the first row - correct overlapping ensures proper waterproofing!
- As with the corrugated sheets, fix a verge to the eave edge starting at the sidewall and then on top of the corrugation
- Apply the ONDUVILLA foam fillers on either side of the ridge line and cover the ridge with the slim cap - fix on each side
- Finish the ridge with the closure cap and you’re all done!
You can find out more by reading our full ONDUVILLA installation guide which also tells you what to do if the opposite end of your roof doesn’t finish with a corrugation, and how to calculate the pitch of your roof.. We also have a handy ’How to’ video.
Tile Look Inspiration
Here are a few of our favourite tile look installations…
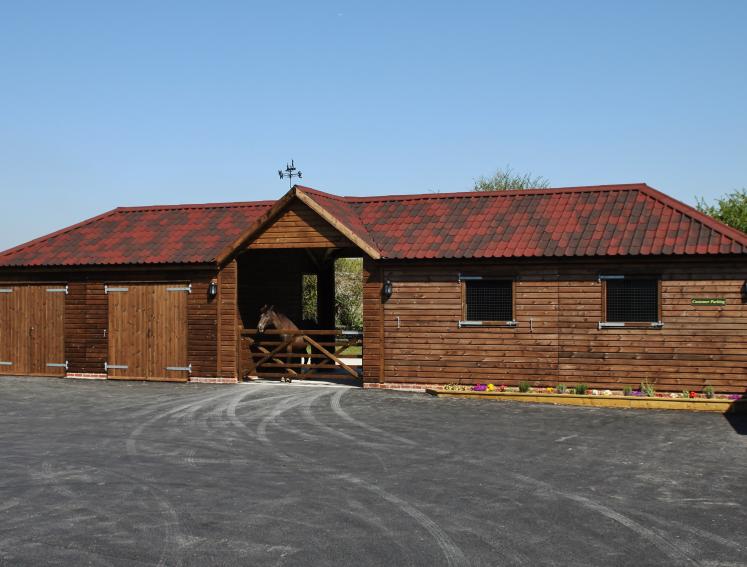
Not just for sheds - ONDUVILLA shaded red roofing
As with all our roofing, ONDUVILLA is noise-reducing which will have definitely been one of the considerations here for these wonderful horse stables created by Bulldog Sheds. We bet this beauty is very happy in their new home!
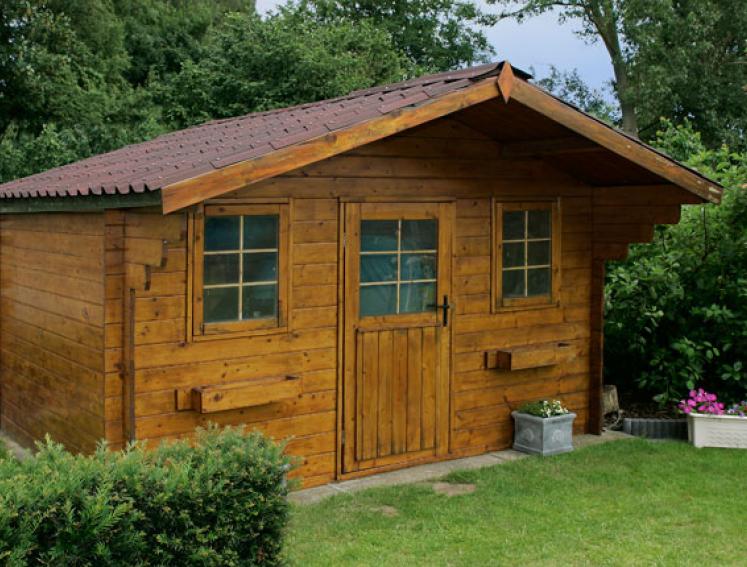
Summerhouse fun - ONDUVILLA shaded brown roofing
What a wonderfully traditional summerhouse, we can imagine ourselves enjoying the sunnier UK weather with the doors and windows wide open, or cosied up under a blanket with them shut tight in winter, a book in one hand and a drink in the other.
Roof Shingles
Flat rather than corrugated
Similar looking to felt in their flatter design (compared with corrugated sheets), roof shingles for sheds are typically better than felt because they are made from more robust materials and our BARDOLINE CLASSIC roof shingles are no different. Made from specially formulated bitumen and reinforced with glass fibres.
How do you install roof shingles?
Unlike some other shed roofing - like our CLASSIC and ONDUVILLA ranges - roofing shingles must be installed onto wooden decking, just like felt.
- Before you can install your shingles, you’ll need to install a watertight and bitumen underlay like our ONDUTISS membrane
- Prepare your first strip by cutting the headlap of the singles, apply some adhesive near the eave of your roof and place this strip on top, securing it with the correct fixings
- Then place your next strip of shingles by creating an overlap, securing with the correct fixings again
- Repeat this step staggering the shingles by shortening the strip until the roof is covered
- Cut some spare shingles to make a ridge - or use a BARDOLINE detail strip - and attach this to your roof using the correct fixings and adhesive, in the opposite direction to the wind
And you’re all done! Find out more by reading our full BARDOLINE roof shingles installation guide which also tells you in more detail how to create your roof’s ridge from your spare shingle and what tools you’ll need. We also have a handy ’How to’ video.
Roof Shingles Inspiration
Here are just two of our favourite installations…
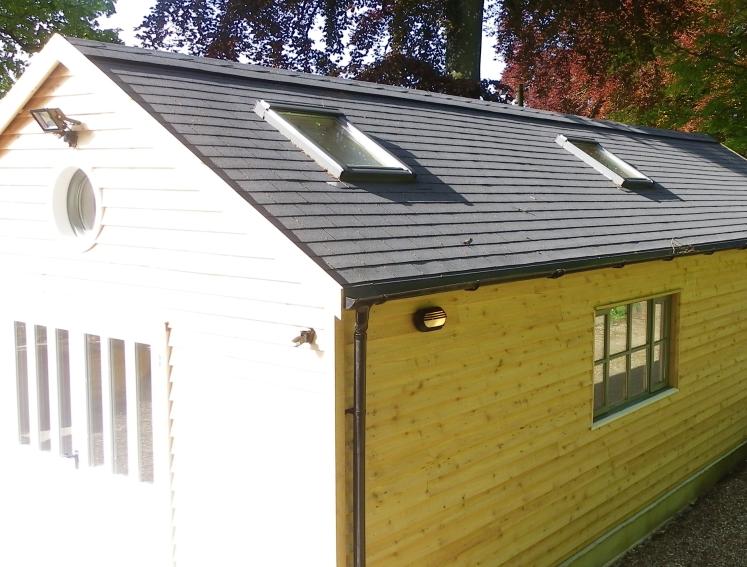
Man shed of dreams - BARDOLINE grey roof shingles
We can see how easy it would be to lose the days tinkering away in this workshop. Not just any boring man cave, we really like how this customer has installed rooflights to bring in more natural light and BARDOLINE really is the perfect match if you want to add roof windows to your shed.
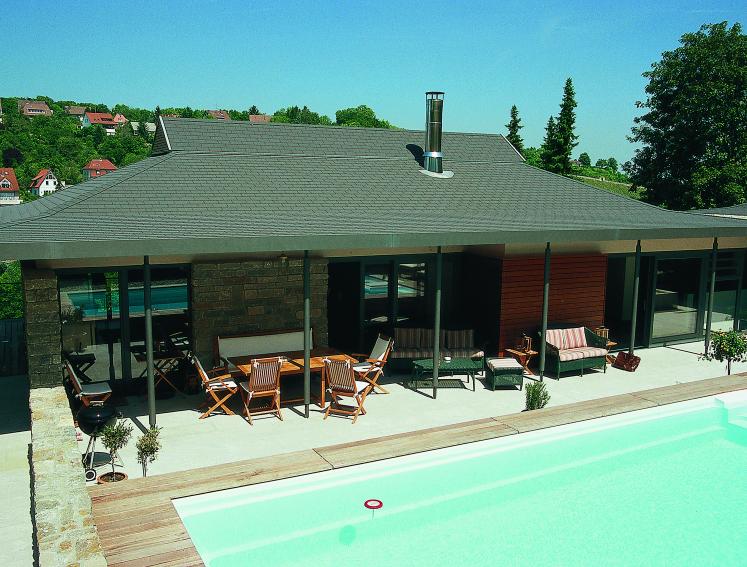
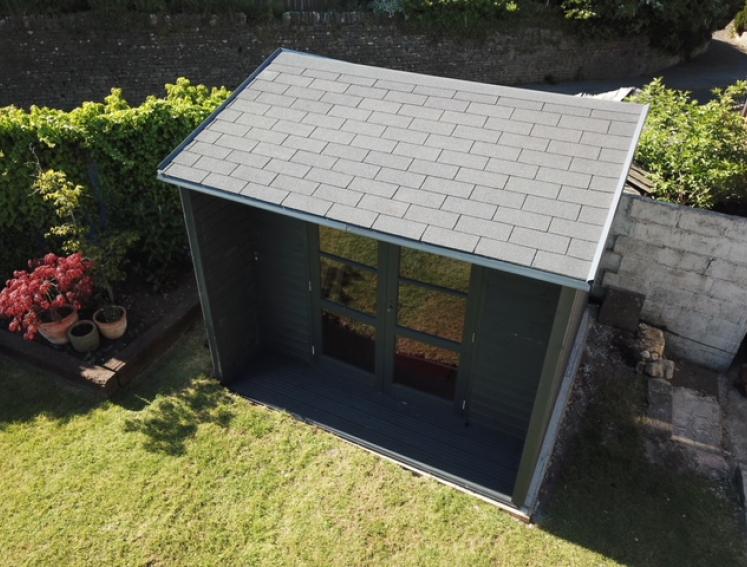
Splash, splash - Another great BARDOLINE installation
WOW! What can we say...we are super jealous of this incredible pool house nestled in this customer’s back garden. How amazing would it be to spend a hot summer's day enjoying the sun splashing around in that pool?
Ready to start your project? Our roofing can be purchased via our eShop as well as select ranges available at Amazon, Wickes and The Range.
Discover the full range at onduline.co.uk.