
How to upgrade your garden fence
26 February 2025If you’re looking for a quick and simple DIY project to upgrade and enhance your garden, then we’ve got you covered. You can revive your dull and lacklustre garden fence without the need to remove or replace it.
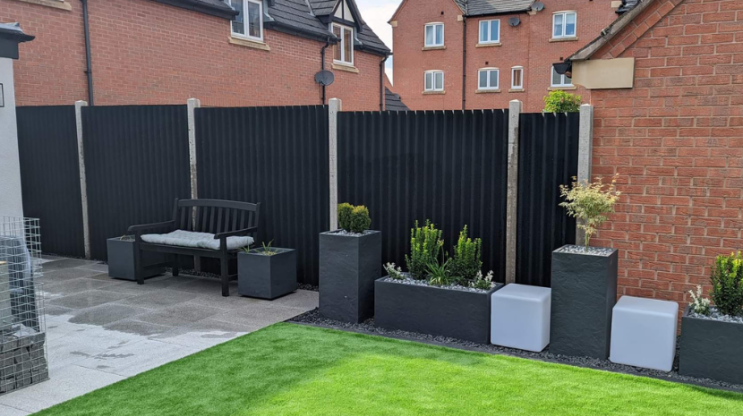
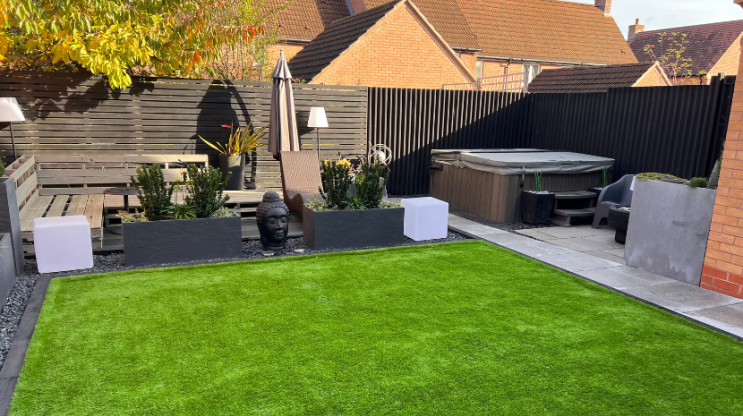
ONDULINE CLASSIC Fence
With ONDULINE CLASSIC sheets, you can simply secure them over your original fence as an aesthetic cover that matches your garden décor seamlessly.
To help you add a bit of personality to your garden fence, we’ve put together a handy step-by-step guide on how to install ONDULINE CLASSIC sheets - no DIY expertise needed!
Get your equipment ready
There is no need for specialist tools, but before starting the task make sure you have:
ONDULINE CLASSIC sheets
ONDULINE universal screws
Measuring tape
Hand saw
Lubricant spray
Safety gloves
Drill
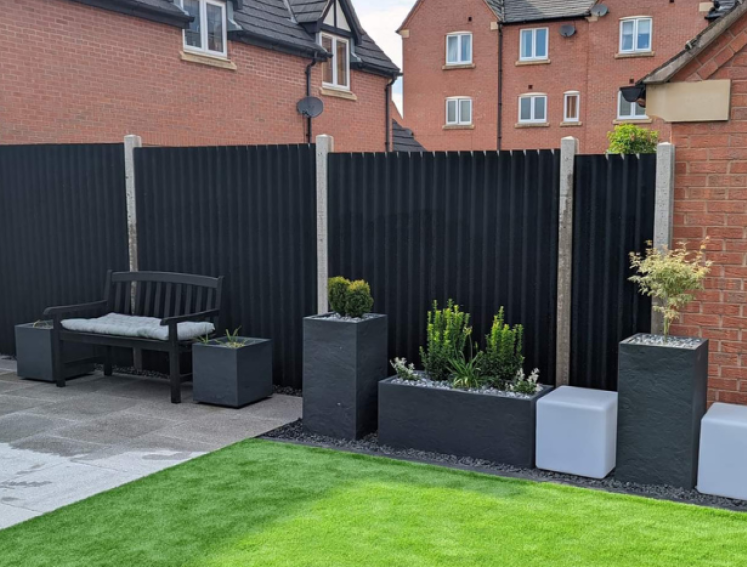
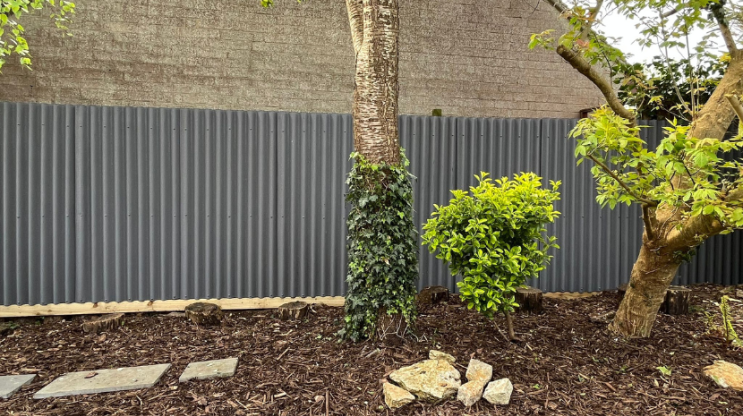
Step 1: Check your existing fence is suitable
Before diving in, it’s important to check your current fence is secure and in good condition. Any weak or damaged parts of the structure should be reinforced before you proceed.
ONDULINE CLASSIC sheets should be installed on a fully boarded fence with a minimum of 30mm thickness. If your current fence is less than 30mm thick support battens can be used to make up to the minimum 30mm thickness.
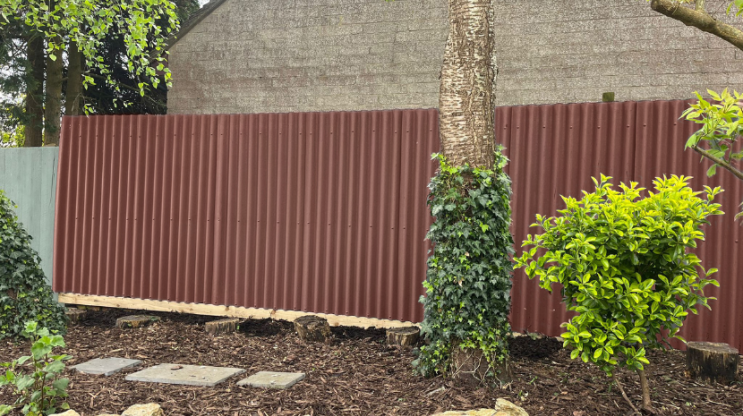
Step 6: Admire your work
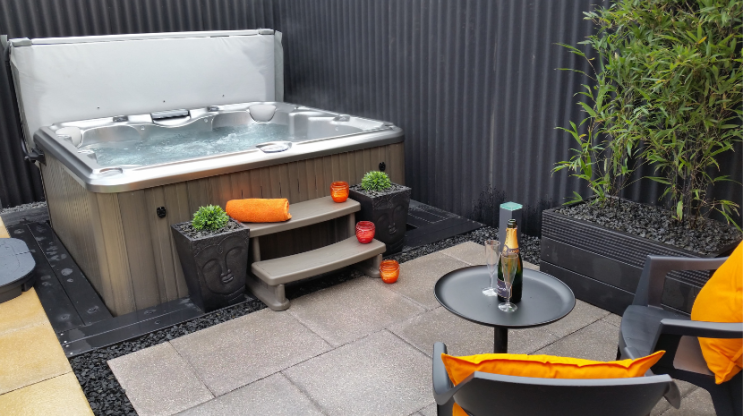
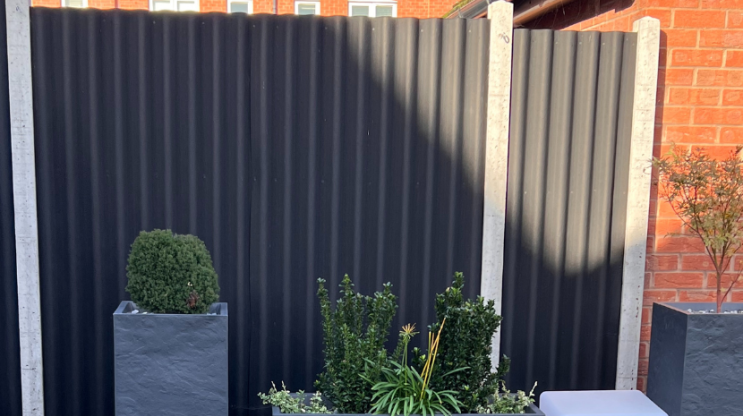
Once your fence is finished, give it a thorough once-over to ensure it is properly secured and aligned. Then just step back and admire your handy work!
So there you have it, six simple steps are all it takes to elevate your outdoor space and create a fence to be proud of.
And don’t forget, our range of lightweight and easy-to-install roofing solutions can be purchased via B&Q and Wickes.
You can also check out our full list of stockists here.
Step 2: Check your measurements
Measure the dimensions of your fence panels carefully to determine how many ONDULINE CLASSIC sheets you’ll need.
Then use your saw to cut the sheets to size (lubricate the saw before use if necessary). Remember to wear gloves while using the saw, it’s better to be safe than sorry!
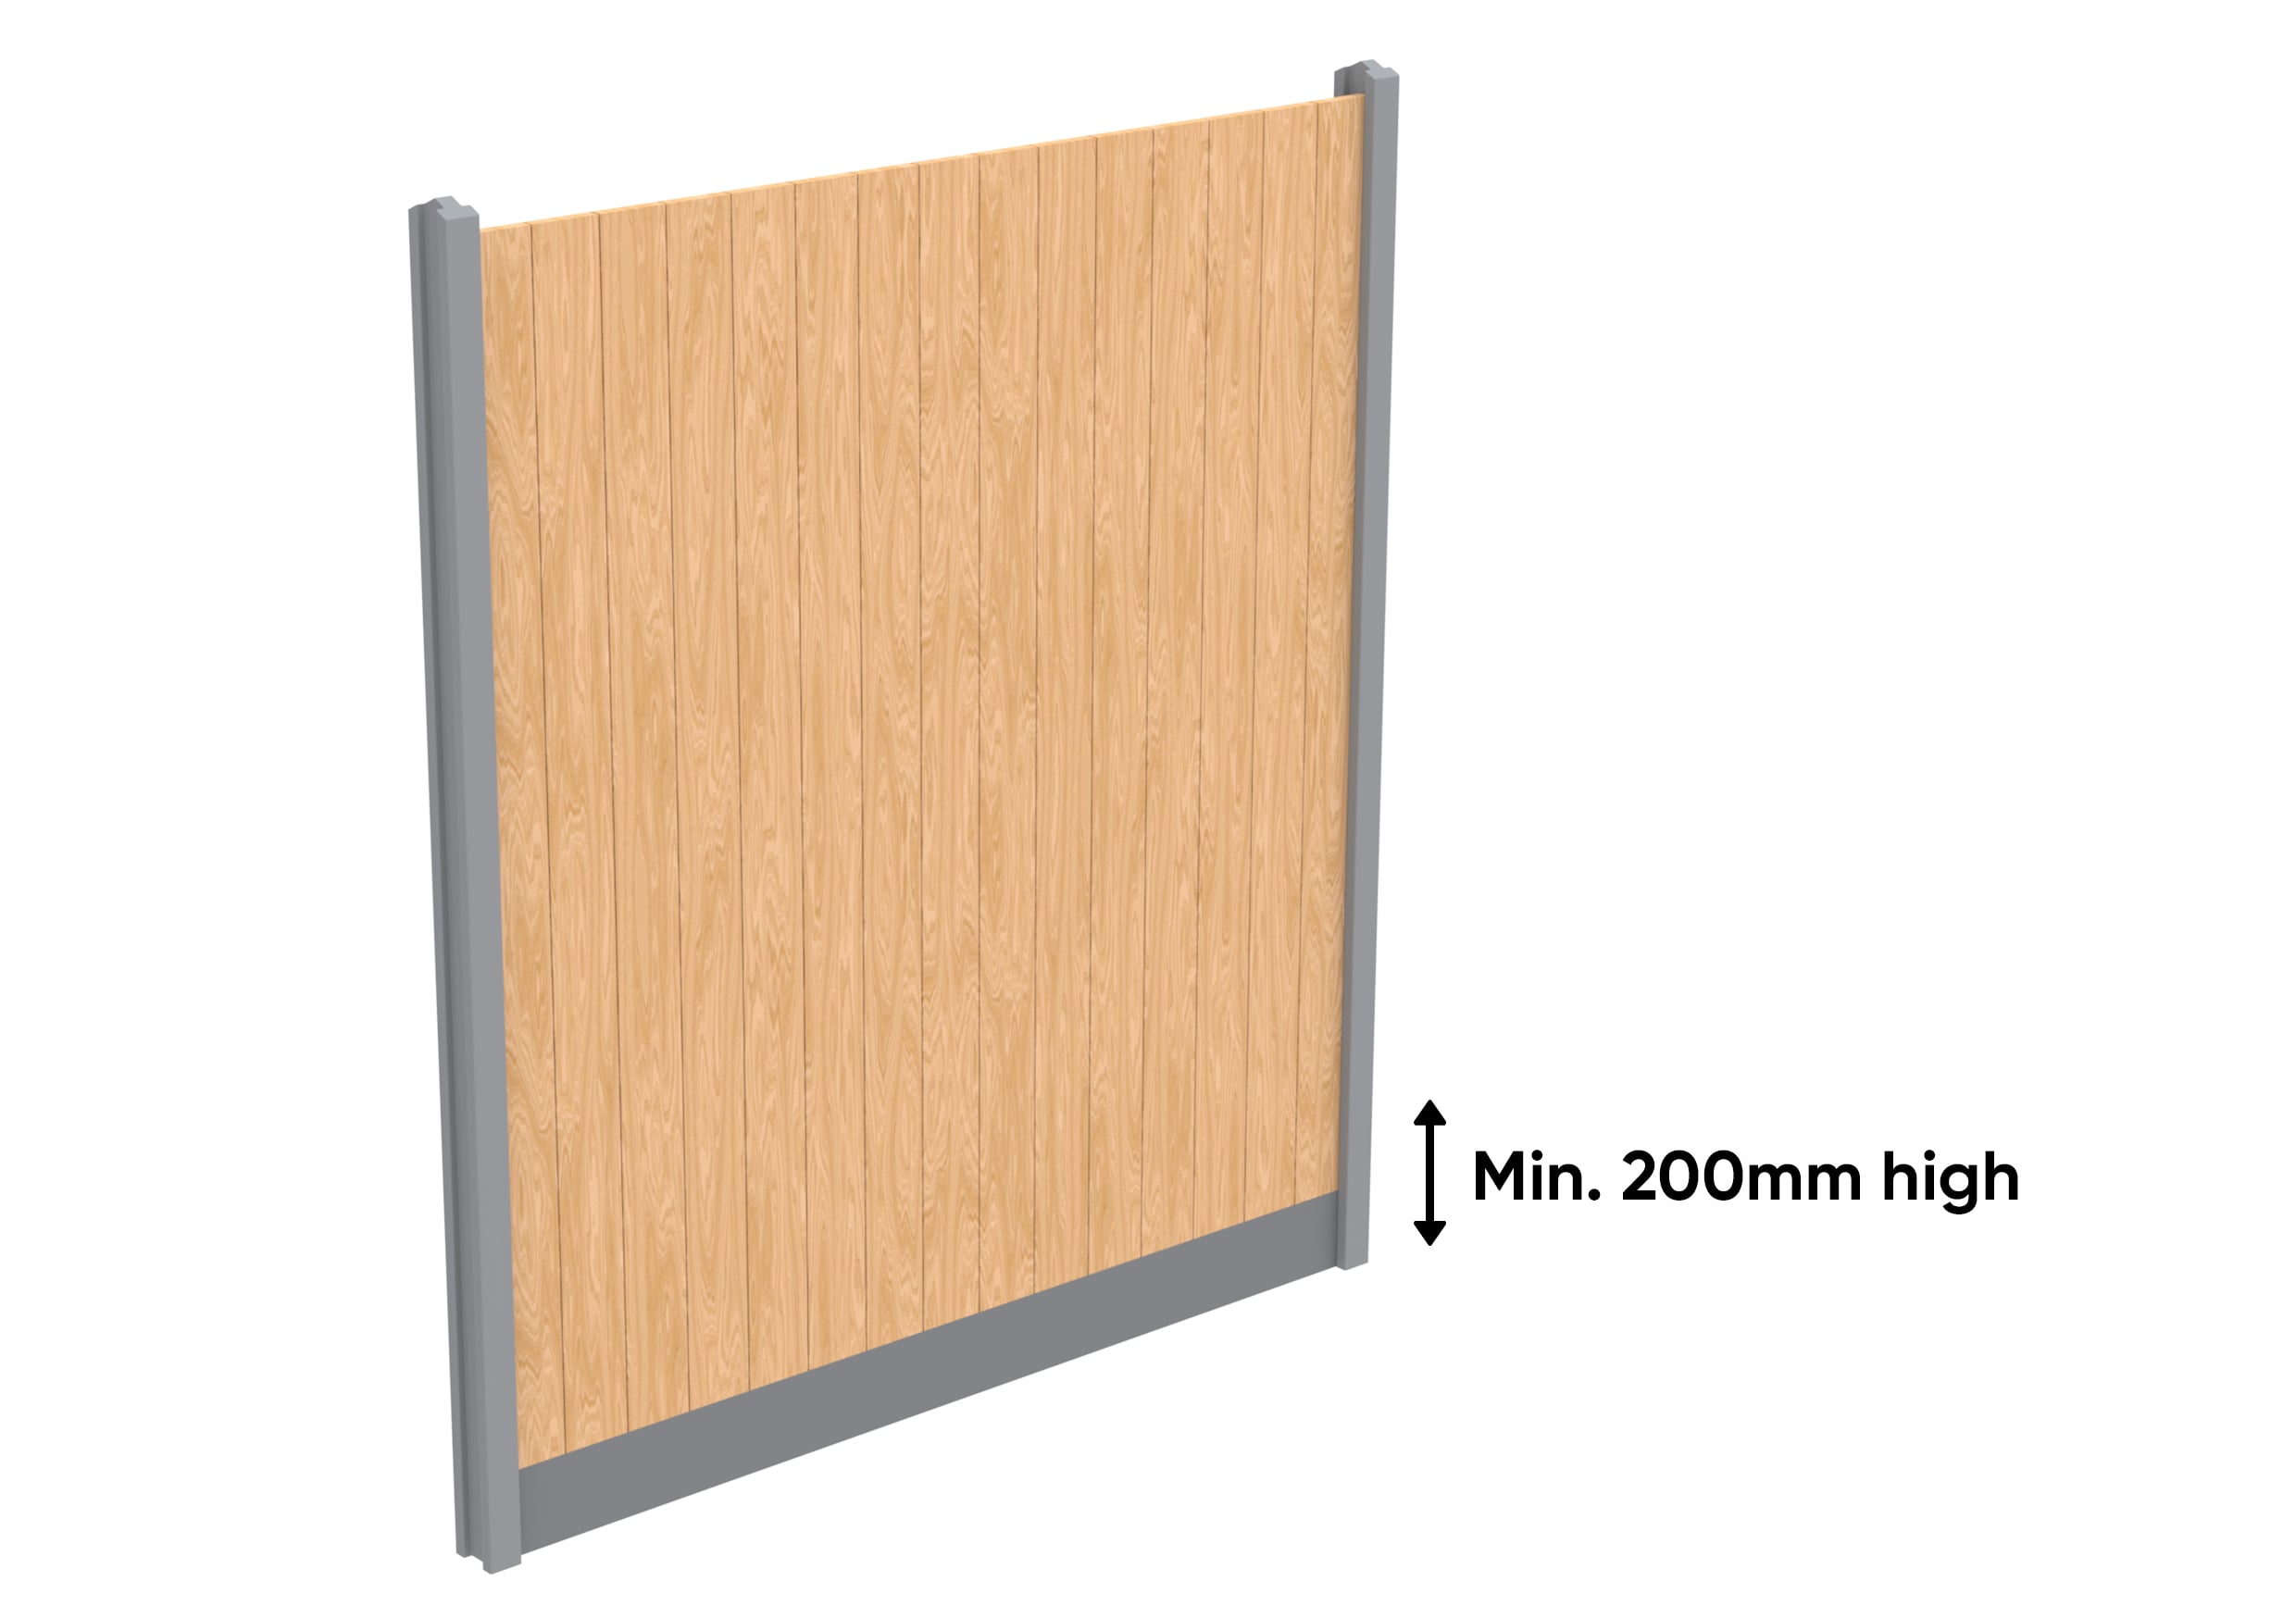
Step 3: Fix your first sheet
Start at one end of your fence and hold the ONDULINE CLASSIC sheet against it. (Where possible, the weight of the sheet should rest against the gravel board). Using four ONDULINE universal screws evenly placed around the sheet, secure it in place temporarily.
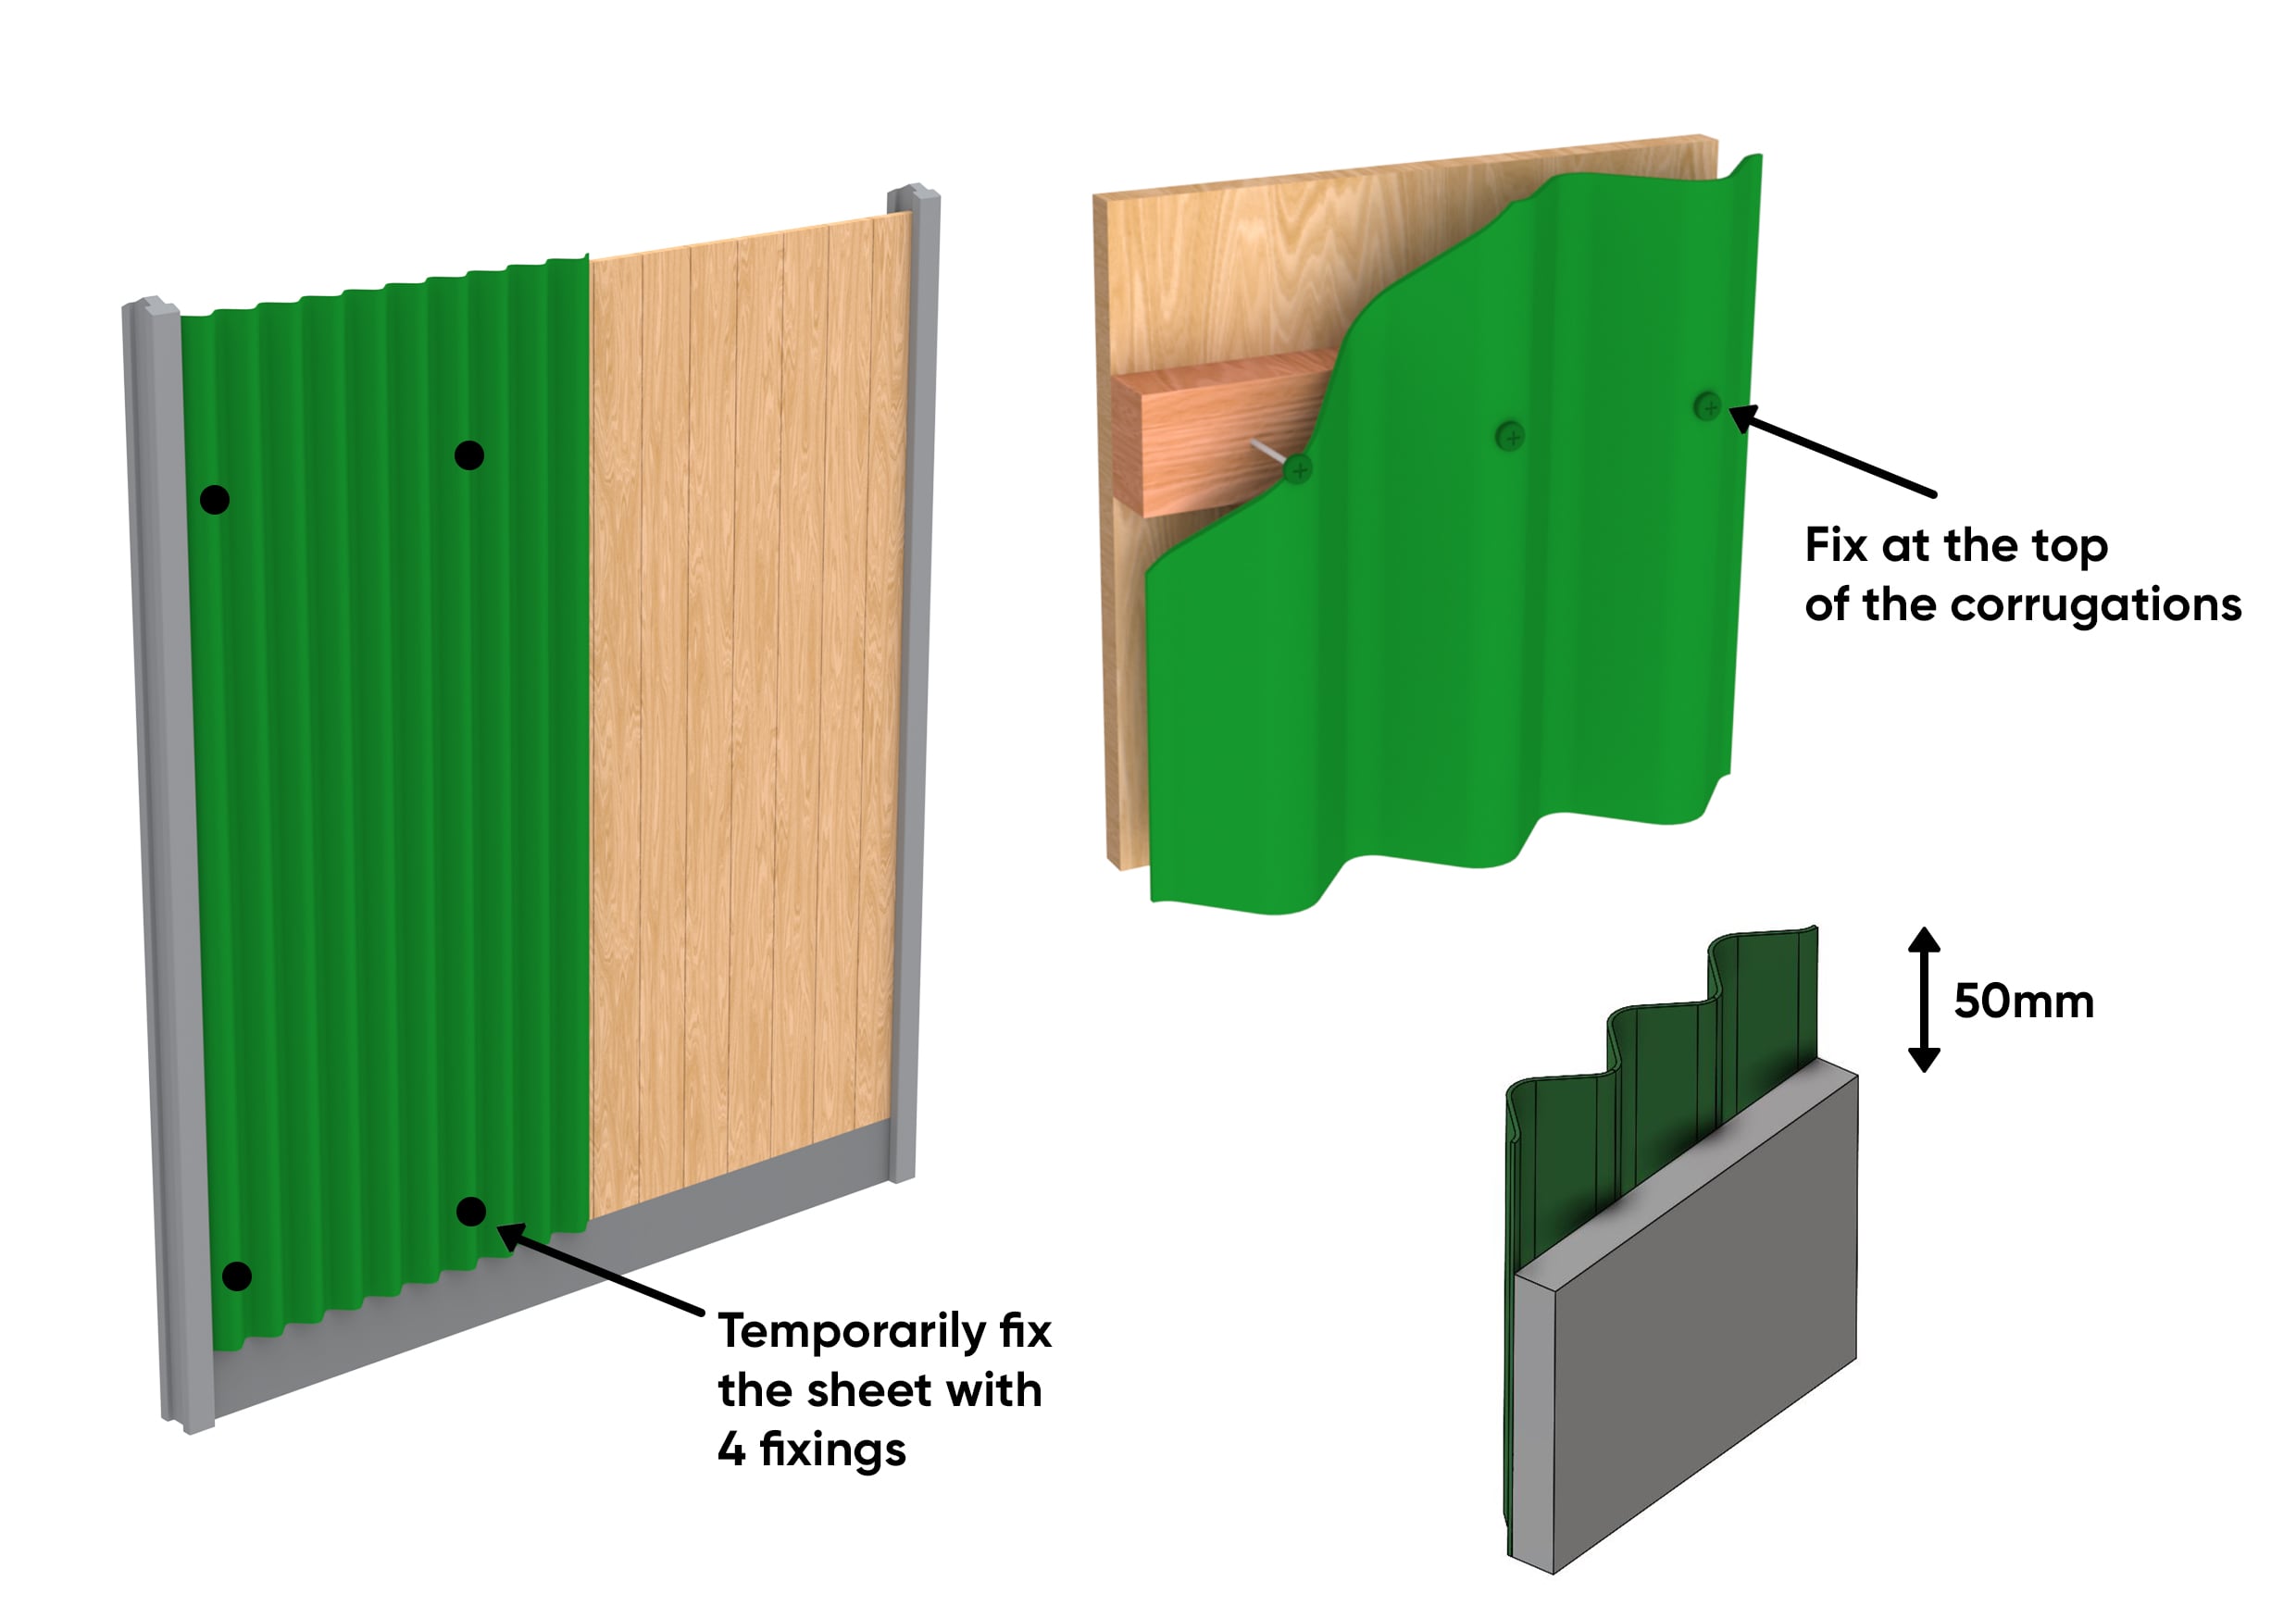
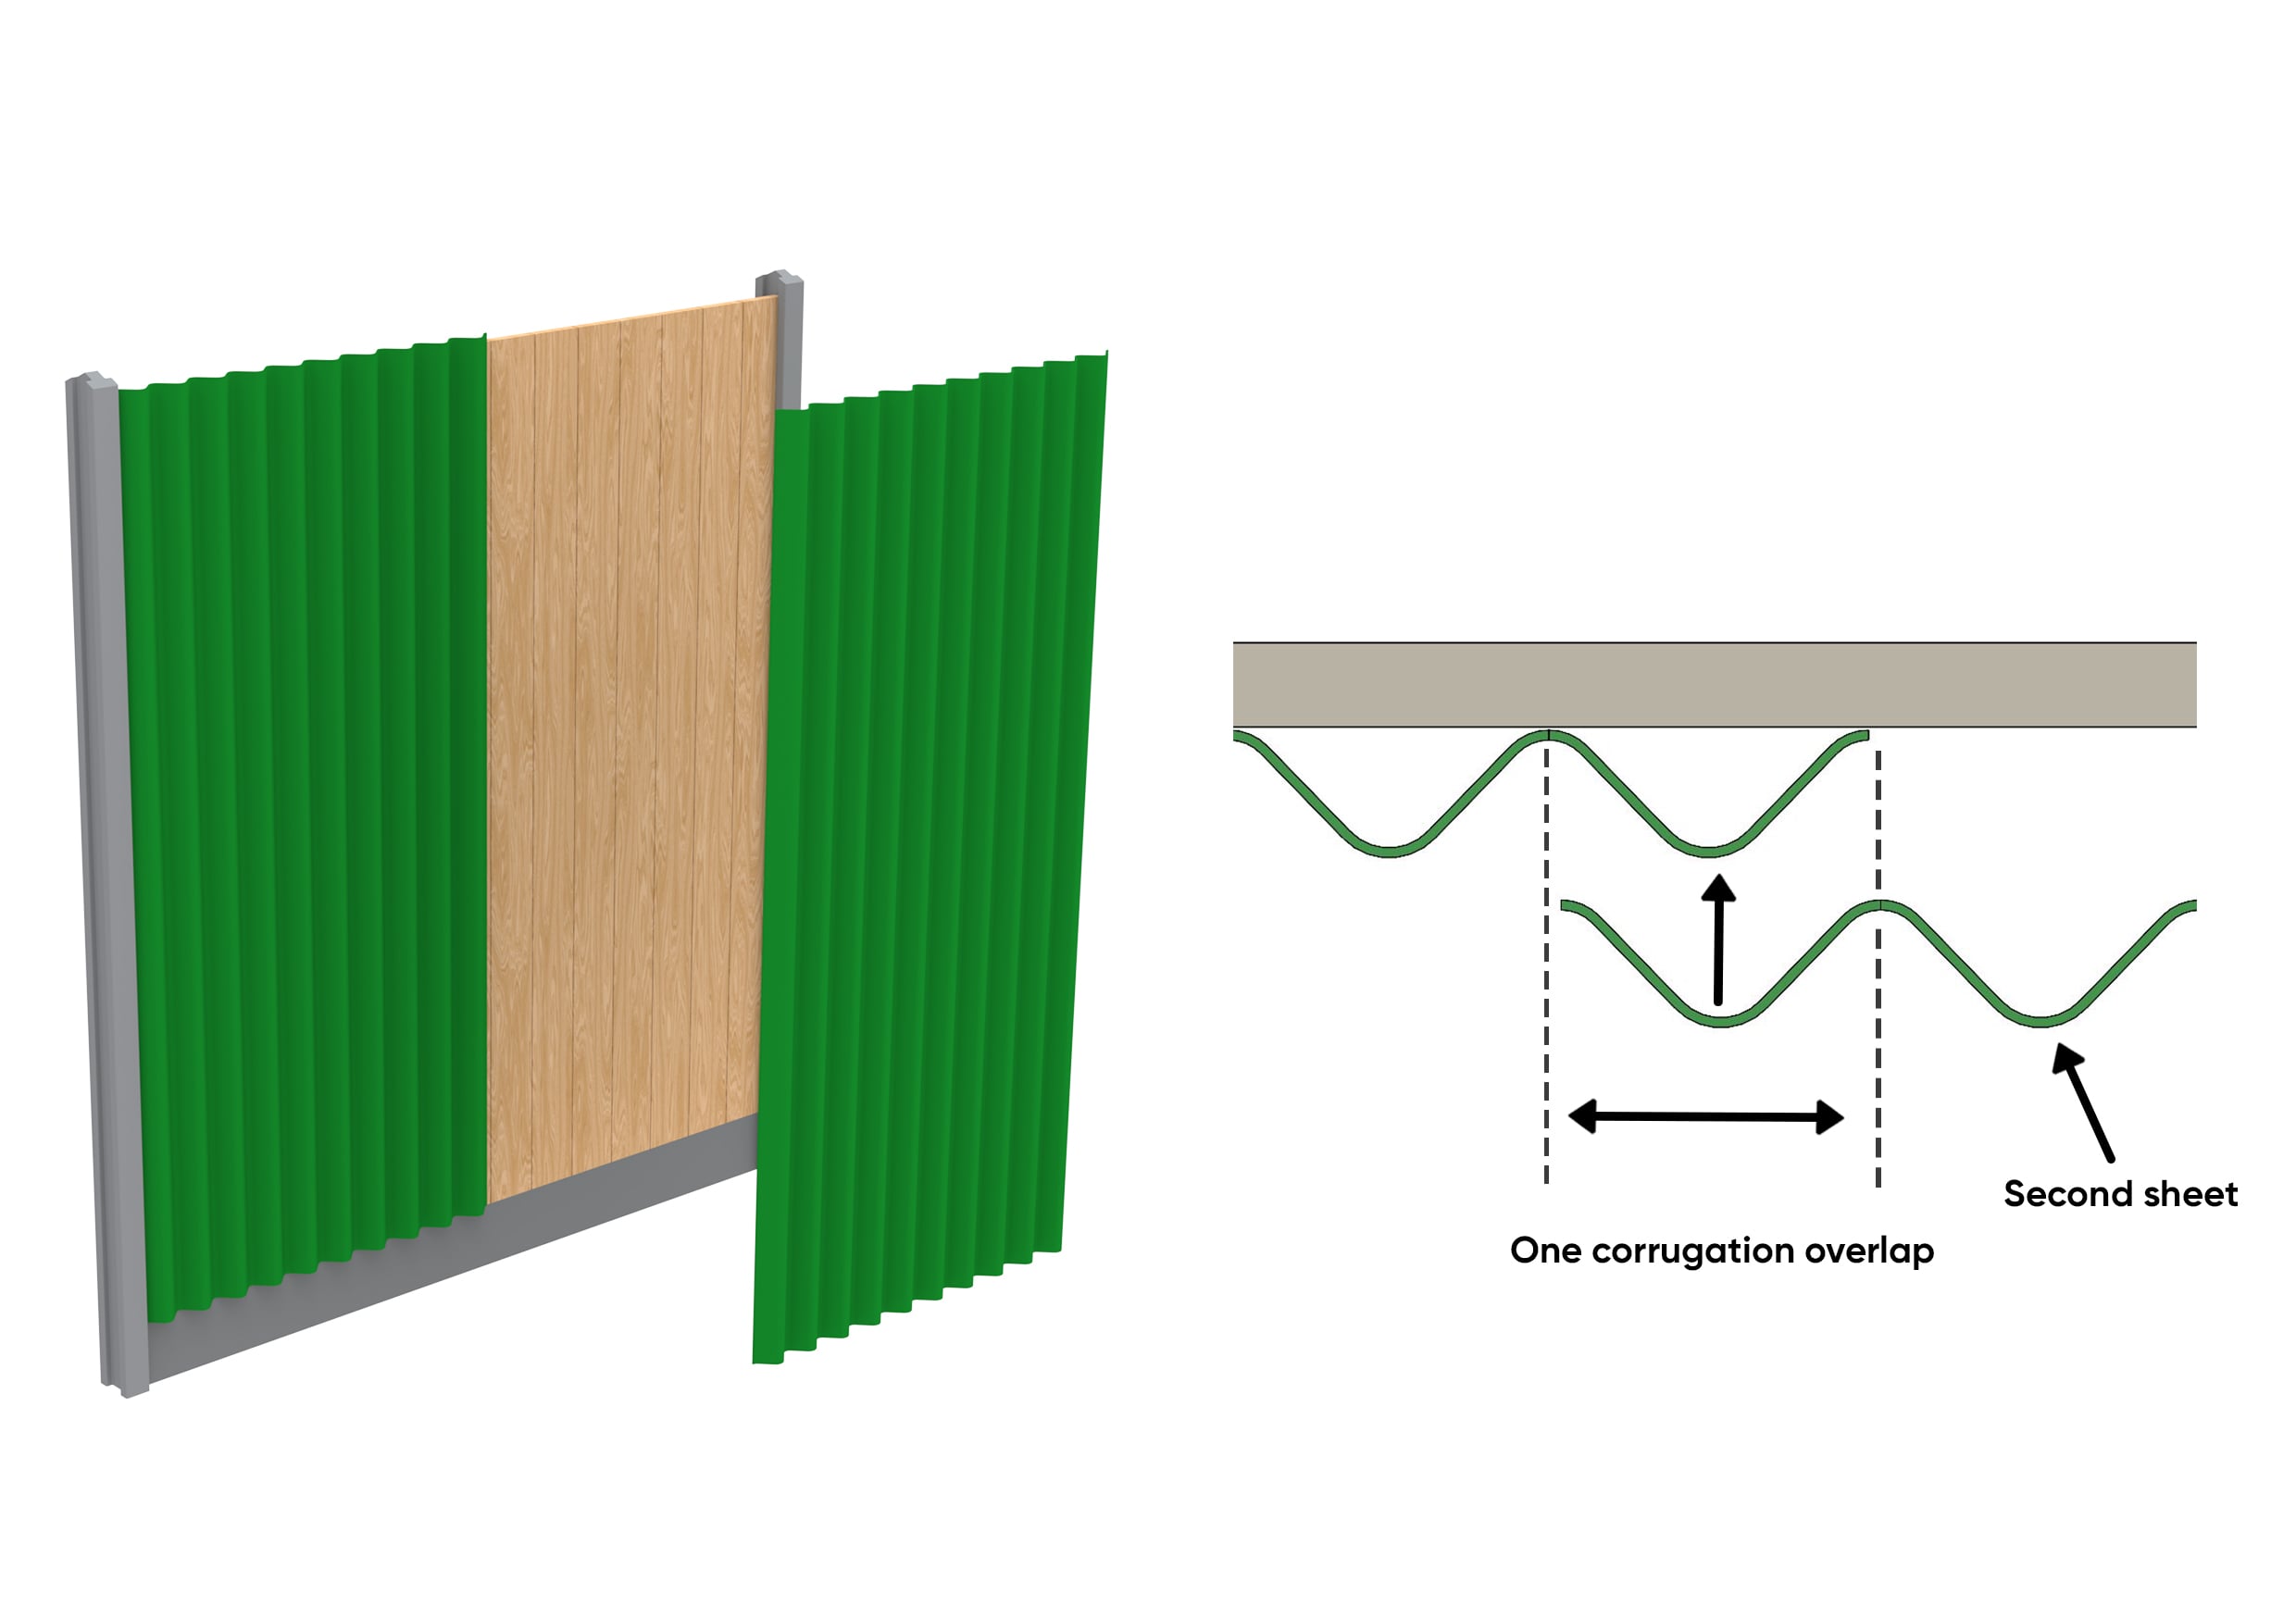
Step 4: Overlap the second sheet
Attach the next sheet in the same temporary way as the first one, ensuring that it overlaps the first sheet by one corrugation.
Step 5: Finish your fence
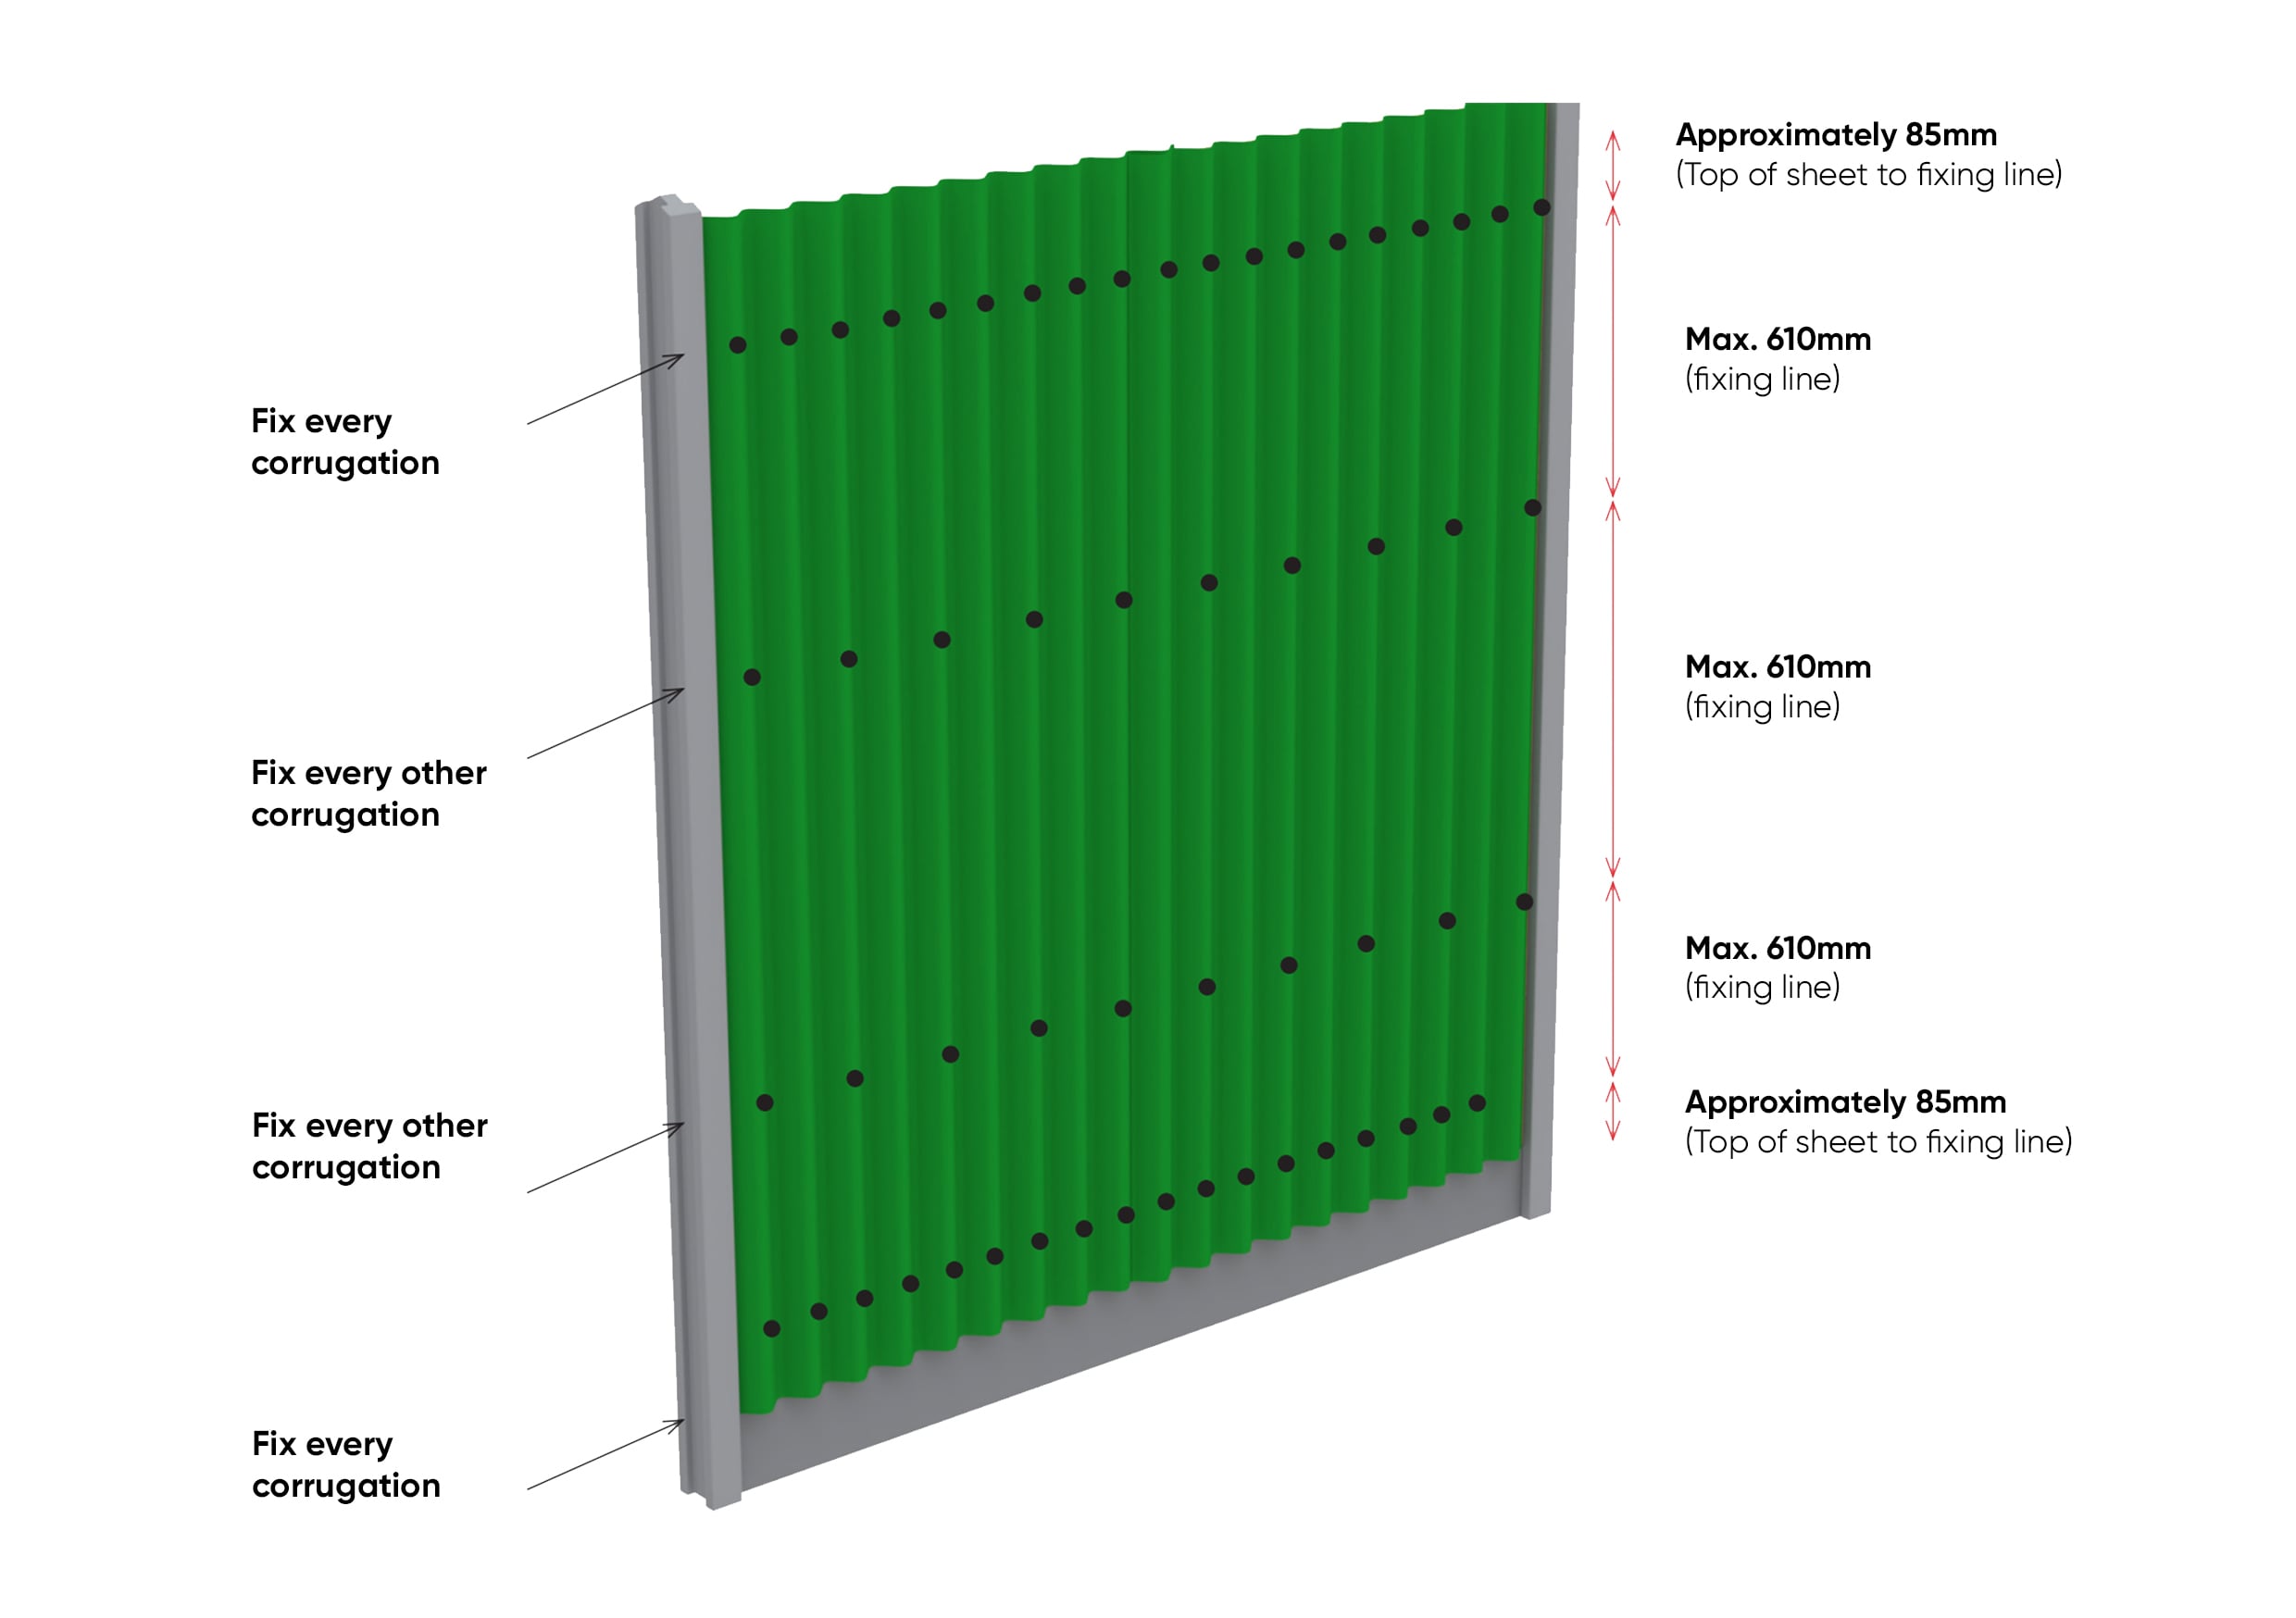
If you are happy with the positioning of the first two ONDULINE sheets, continue along your fence and attach the rest. All corrugations should be fixed at the top and bottom sections, and every other corrugation should also be fixed in between.
Don’t forget to remove the temporary fixtures of the first two sheets and attach them securely!
Get started
Ready to get started? Explore our full range of high-quality waterproofing products and find the perfect fit for your garden today! Browse the collection today and take the first step toward transforming your outdoor space.
Weekend Project Inspo!
Looking for some weekend inspiration? Our blog page is the perfect place to ignite your creativity and kick-start your garden projects! Whether you're a seasoned gardener or just starting out, we offer step-by-step guides, unique DIY ideas, and helpful tips that will transform your outdoor space.
