Keep your hens happy with our top tips and advice on how to build them their very own extra special chicken coop!
Are you planning on building your own chicken coop? Want to create a comfortable home for your hens? If you’re raising chickens you’ll want to give them the best life possible and a spacious waterproof area to call home is essential. So look no further as we have all of the advice and top tips you need for building your own chicken coop.
Let’s start with a few considerations first...
How much does it cost to build a chicken coop?
Premade chicken coops can be costly which is why building your own is a more favourable and affordable option. The overall cost will really depend on how big you are planning to make your chicken coop but there are ways you can keep your bill down, for example, using reclaimed wood and sourcing scrap materials. It’s also more environmentally friendly this way too.
What materials are best for building a chicken coop?
For the frame, you will need to source a naturally rot-resistant softwood and for the roof, we suggest our corrugated roofing sheets.
Is ONDULINE roofing suitable for chicken coops?
What a great question!
The answer is YES, they are absolutely suitable for your chicken coop. Our roofing sheets are durable, easy-to-install and boast natural sound insulation. Whilst the majority of roofing materials (such as metal) allow sound to travel through, our material actually absorbs part of it which reduces the level of noise. This in turn will help your chickens to feel safer during harsh weather conditions and storms. Our roofing sheets are also free from any hazardous substances and contain no asbestos making them ideal for housing animals.
What's the best location for my chicken coop?
North, east, south, west?
When it comes to determining the best spot in your garden for your chicken coop to be situated you should think about external factors such as the weather and predators. If your land is prone to flooding then you should consider building your chicken coop on raised ground. You should also be mindful that predators such as foxes may be able to access your garden (and will view your chickens as a tasty dinner) - try and ensure all of your fences are secure to avoid any disasters. Placing your chicken coop under a tree can also be a good idea as it will offer extra shelter and shade particularly on sunny days.
Ready to get going? Here are our tips for your chicken coop build!
- Mark out your coop
Before you begin your build the first step is to mark out your chicken coop on the ground. This is also the point where you really need to have determined the size of your coop. Generally speaking, you should allow 3-4 square feet per chicken to ensure plenty of roaming space but it doesn’t harm to build a little extra so your hens have lots of room to play.
- Make a checklist of materials
Once you have determined the size of your coop and you’ve marked it out on the ground you should write up a checklist of all the materials you need. This should include:
- Wood
- Mesh
- Roofing sheets
- Fixtures and fittings i.e. hinges, door locks
- Screws
- Tools including; saw, measuring tape, sandpaper or electric sander, spirit level, hammer and screwdriver
- Build a roof
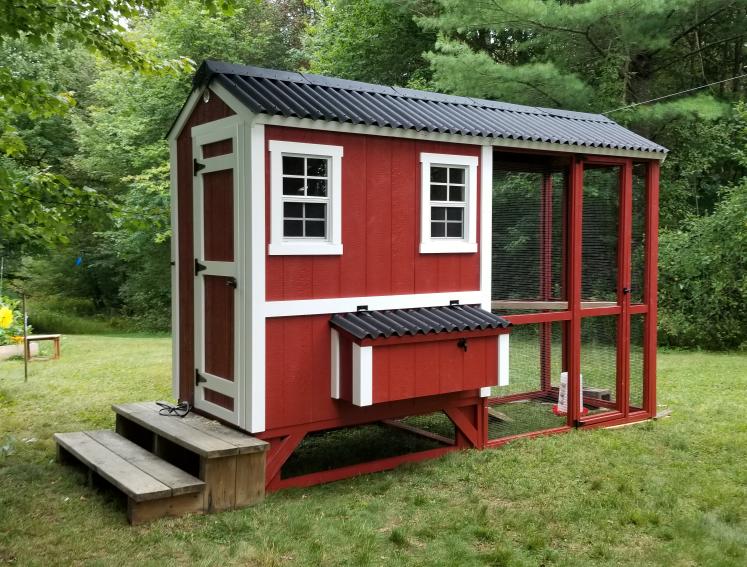
Once the frame is completed and you’re satisfied with the outcome it's time to build the roof! This is easy with ONDULINE roofing sheets and you don't need any additional special tools either. Our compact ONDULINE EASYLINE roof sheets are ideal for smaller projects such as coops and come in a choice of intense red, grey and black colours. They’re easy to handle and come with a 10-year guarantee too! Watch our installation video here.
- Construct the frame
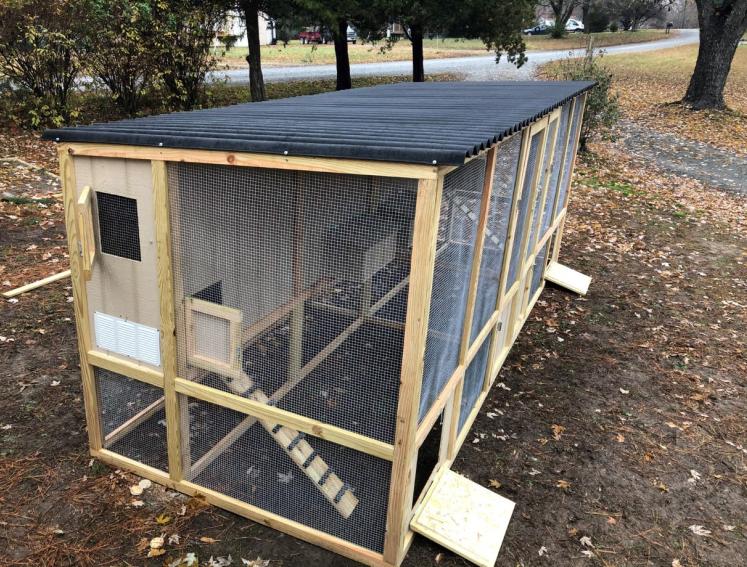
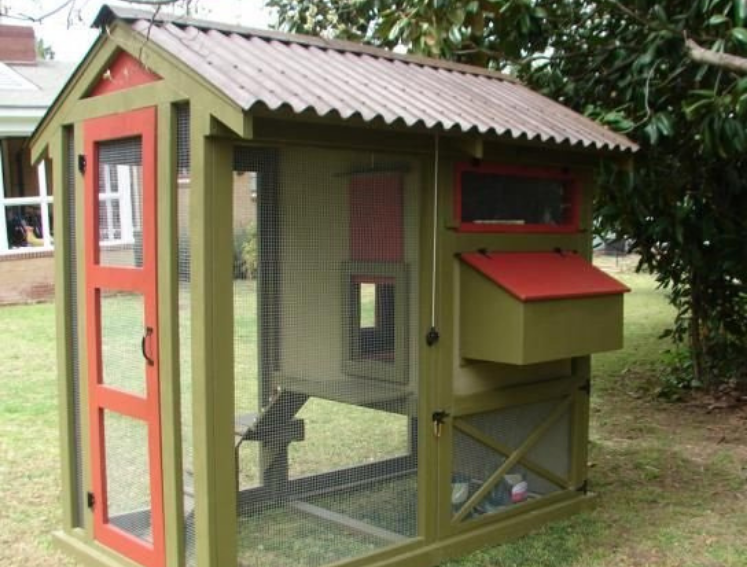
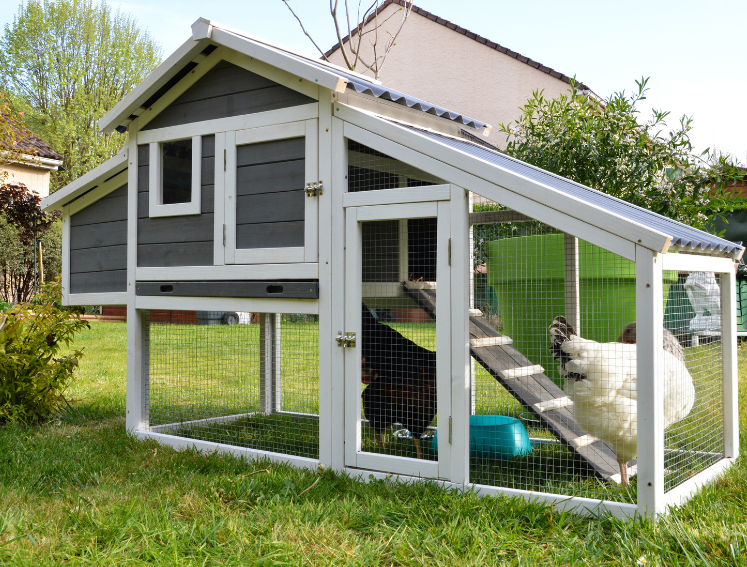
The first step in building the chicken run of dreams is to construct the timber frame. You will need to bear in mind that a nesting box is also required as this will be where your hens sleep at night and take shelter so you may want to measure it out so that 30% of the overall chicken coop is a cosy interior space, with a ramp leading out to a run. You will also need to build the frame for the entrance door and attach suitable hinges.
- Panel the sides of your coop
With the frame and roof completed (hoorah) the next step is to panel your chicken coop. This will include timber (you could also use plywood) panels for the nesting area of your coop and wire mesh for the run section of your hens’ home. You will also need to consider what kind of door you’ll be creating for both the nesting box and the entrance to the coop. Use your offcuts to create a ramp up to the nesting box with batons across the wood to ensure your hens can grip ok.
- Ensure your coop is secure
The final part of your chicken coop is adding locks to the doors of your hen house. This is to not only keep your hens safe from any potential escape plans but also to keep the predators at bay. A flimsy lock could result in upset so ensure a suitable lock is placed on the entrance to your chicken home as well as the nesting box.
- Those finishing touches
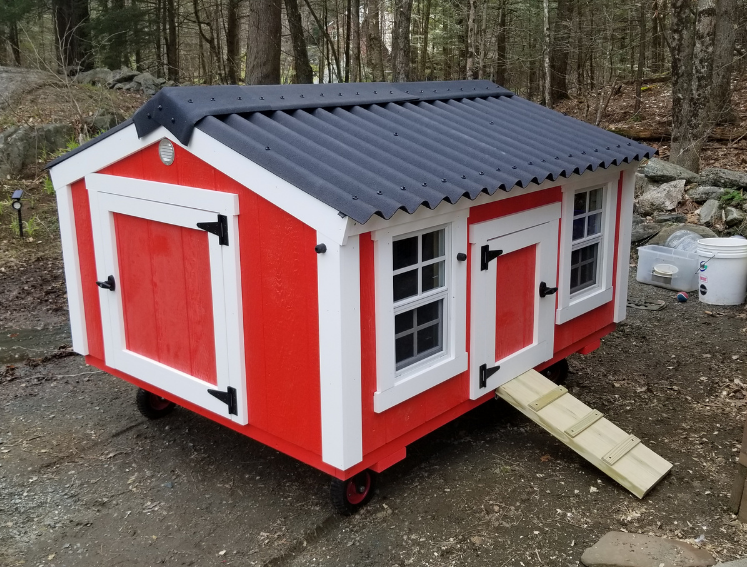
Give your hen house a chic look with a splash of paint. Your chickens deserve a stylish abode, after all, and we just love this cream and black chicken coop! Or perhaps you’ll go with a brighter colour such as pink or red? Either way, we’re sure your chickens will love their new home. Oh and don’t forget to include a few toys to give your chickens stimulation - we love these ideas!
- Enjoy the fruits of your labour!
Happy hens mean tasty eggs! There’s nothing quite like starting your morning by checking the nesting box to be greeted with freshly laid eggs. Enjoy a delicious brunch of poached eggs from your own happy chickens.
Ready to start your project? Our roofing can be purchased via our eShop as well as select ranges available at Amazon, Wickes and The Range.
Discover the full range at onduline.co.uk.