
How to build a raised garden bed in a day
20 June 2025Whether you’re growing vegetables, fruit, flowers or shrubs, a raised garden bed is a great way to do it. They help reduce the risk of pests and soil-borne diseases, prevent root rot, and add depth and interest to your garden.
Building your own raised garden bed is also easier than you might think – with our step-by-step tutorial, you could have one ready in just a day!
What you will need
Canes and strings
Spirit level
Spade
Electric drill
Circular saw
Pre-treated sleepers or wood of choice
Coach screws
Compost
Soil
Stones
Batons
Landscape fabric
Staple gun
Pre-mixed cement (optional)
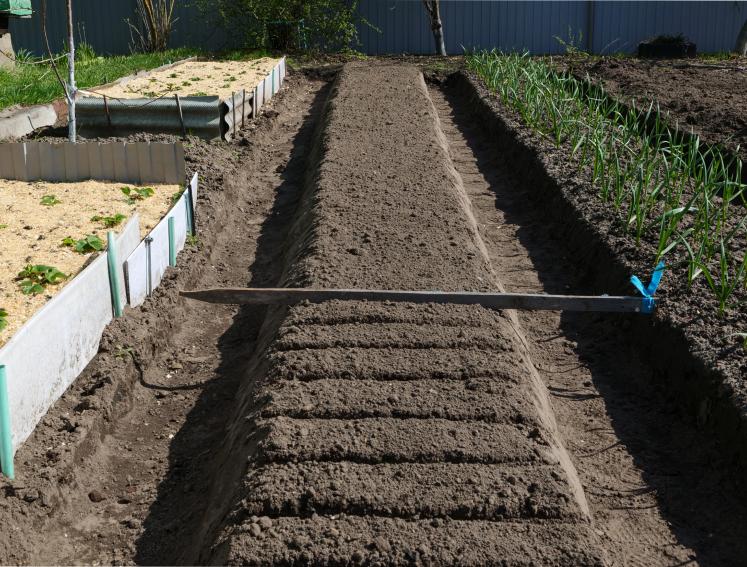
Step 1: Prepare the area
Before you begin constructing your bed, you need to decide where to place it and what size you would like. A place with plenty of sunshine and good drainage is ideal, as long as you consider the best conditions for what you intend to grow.
Once you’ve chosen the position and decided on the size, mark out the area you will be constructing your garden bed with your canes and string to the exact dimensions and then use your spade to dig a shallow trench (around 6-8 inches).
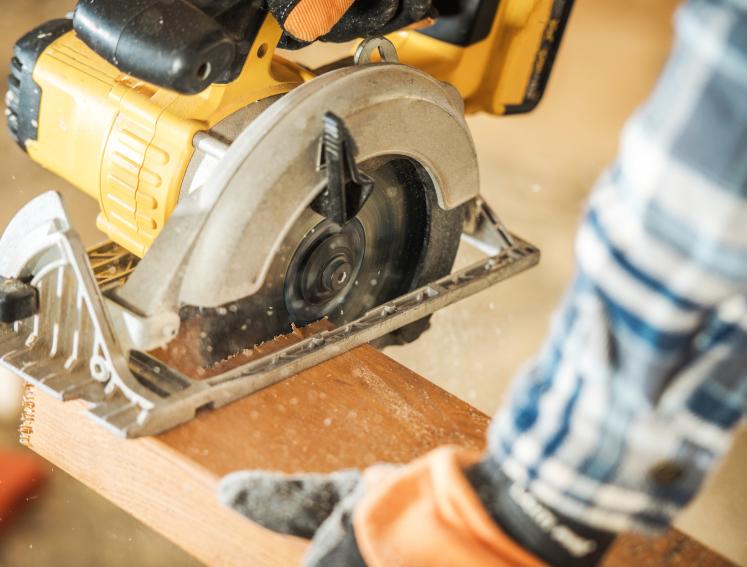
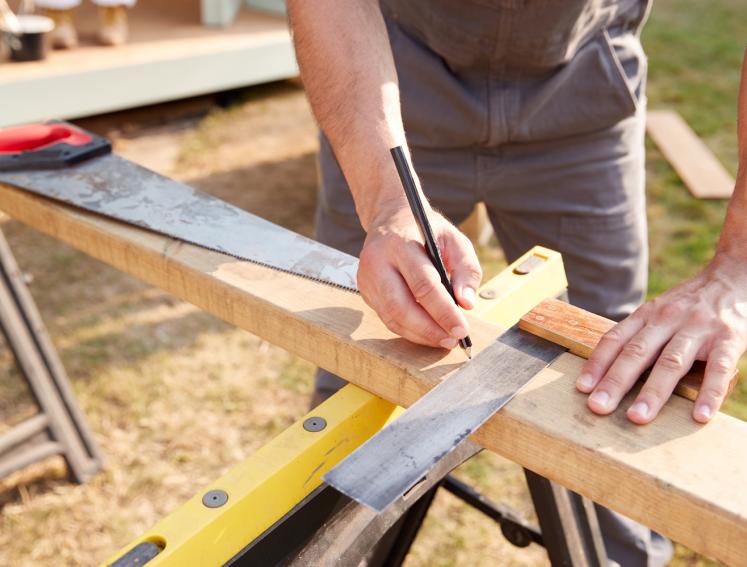
Step 2: Cut your timber
Cut your timber size for your frame with the circular saw, remembering to always wear protective gloves and glasses when cutting wood.
Step 3: Build your frame
Position your timber in the trench, using a spirit level to ensure everything is aligned. Once you're satisfied, drill two holes at the top and bottom of each timber end, going through to the adjoining piece, then secure with coach screws.
Optional: For added stability, especially on taller beds, pour pre-mixed cement around the base of the first layer before fixing it in place. Allow it to set before continuing.
To increase height, add more layers, overlapping joints for strength. Repeat until you reach your desired height, then screw vertical batons into each corner to secure the layers together.
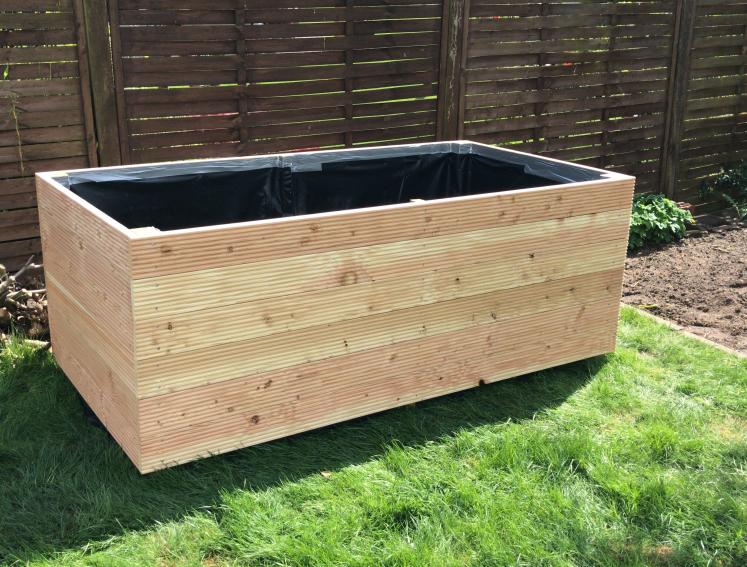
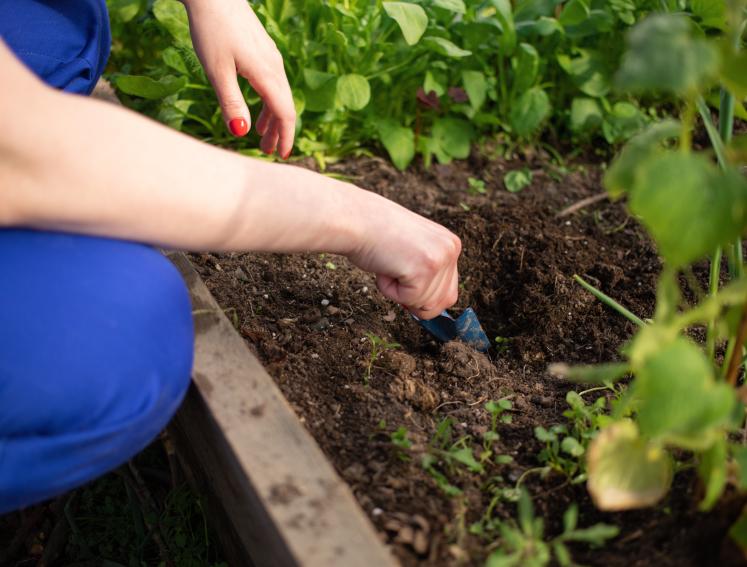
Step 4: Prepare for planting
Line the inside of your bed with landscape fabric and secure it to the timber using a staple gun. This helps suppress weeds while allowing water to drain through.
Add a layer of gravel or small stones at the bottom to improve drainage and prevent water from pooling around roots.
Next, fill the bed with a suitable mix of compost and topsoil - roughly 60% topsoil, 30% compost, and 10% organic matter - adjusting as needed for the plants you’re growing.
Lightly rake the surface and water to help the soil settle before planting.
Step 5: Let it rest
After a week or two of settling, top up the soil if needed and get ready for the fun bit – planting time!
There you have it, everything you need to know to build a garden bed in a day!
Your Raised Bed is Just the Beginning!
You've put in the work, and now your beautiful raised bed stands as a testament to your gardening passion. But why stop there? The satisfaction of a successful DIY project is addictive, and your garden offers a wealth of opportunities for further transformation.
Once you're done admiring your thriving raised bed, why not cast your eyes to other areas of your outdoor space? Consider giving your garden shed, or any other outbuildings, a new lease on life with the innovative and durable solutions from Onduline. Imagine a refreshed, weather-protected shed that complements your stunning new raised bed.
Ready to take on your next garden project? Explore the versatile Onduline ranges here and discover how easy it is to protect and beautify your outdoor structures!
You can find our range of lightweight and easy-to-install roofing solutions available for purchase at B&Q and Wickes.
And you can also check out our full list of stockists here.
Weekend Project Inspo!
Looking for some weekend inspiration? Our blog page is the perfect place to ignite your creativity and kick-start your garden projects! Whether you're a seasoned gardener or just starting out, we offer step-by-step guides, unique DIY ideas, and helpful tips that will transform your outdoor space.
